
Table of Contents
- 1. Explain the mirror effect using a sheet of paper
- 2. Prepare three small challenges depending on age
- 3. Play fold detective
- 4. Build an image with a mirror
- 5. Move to point-by-point grid drawing
- 6. Tell a shifted copy apart from a reflection
- 7. Fix one difficulty at a time
- 8. Invent a pattern and pick the next challenge
- Frequently asked questions
- Do an outline and its pattern always have the same symmetry?
"I made both sides match!" Your child drew two little houses, but the chimneys don't mirror each other. This is a great opportunity to observe: to get symmetry, just looking similar is not enough.
You can explore this concept with paper, a fold, and a few shapes. Younger kids manipulate and compare; older kids learn to predict and then verify. The goal isn't to get a flawless drawing, but to understand what happens when one part overlaps another.
1. Explain the mirror effect using a sheet of paper
Fold a sheet of paper in half, edge to edge, then open it. Gently trace over the fold with a pencil. On one half, draw a small star and a dot, fairly far apart from each other. Fold it back and locate their position through the paper to recreate them on the other half.
When you open it, the drawings face each other. When you fold again along the same line, the star and the dot line up with their matching counterparts. The fold line represents the axis. Lumni's presentation of line symmetry builds on this connection with folding and mirrors.
Simply ask: "Do the two stars land right on top of each other?" This question is clearer than "Does it look nice?". A slightly shaky line doesn't mean the child didn't understand the concept.
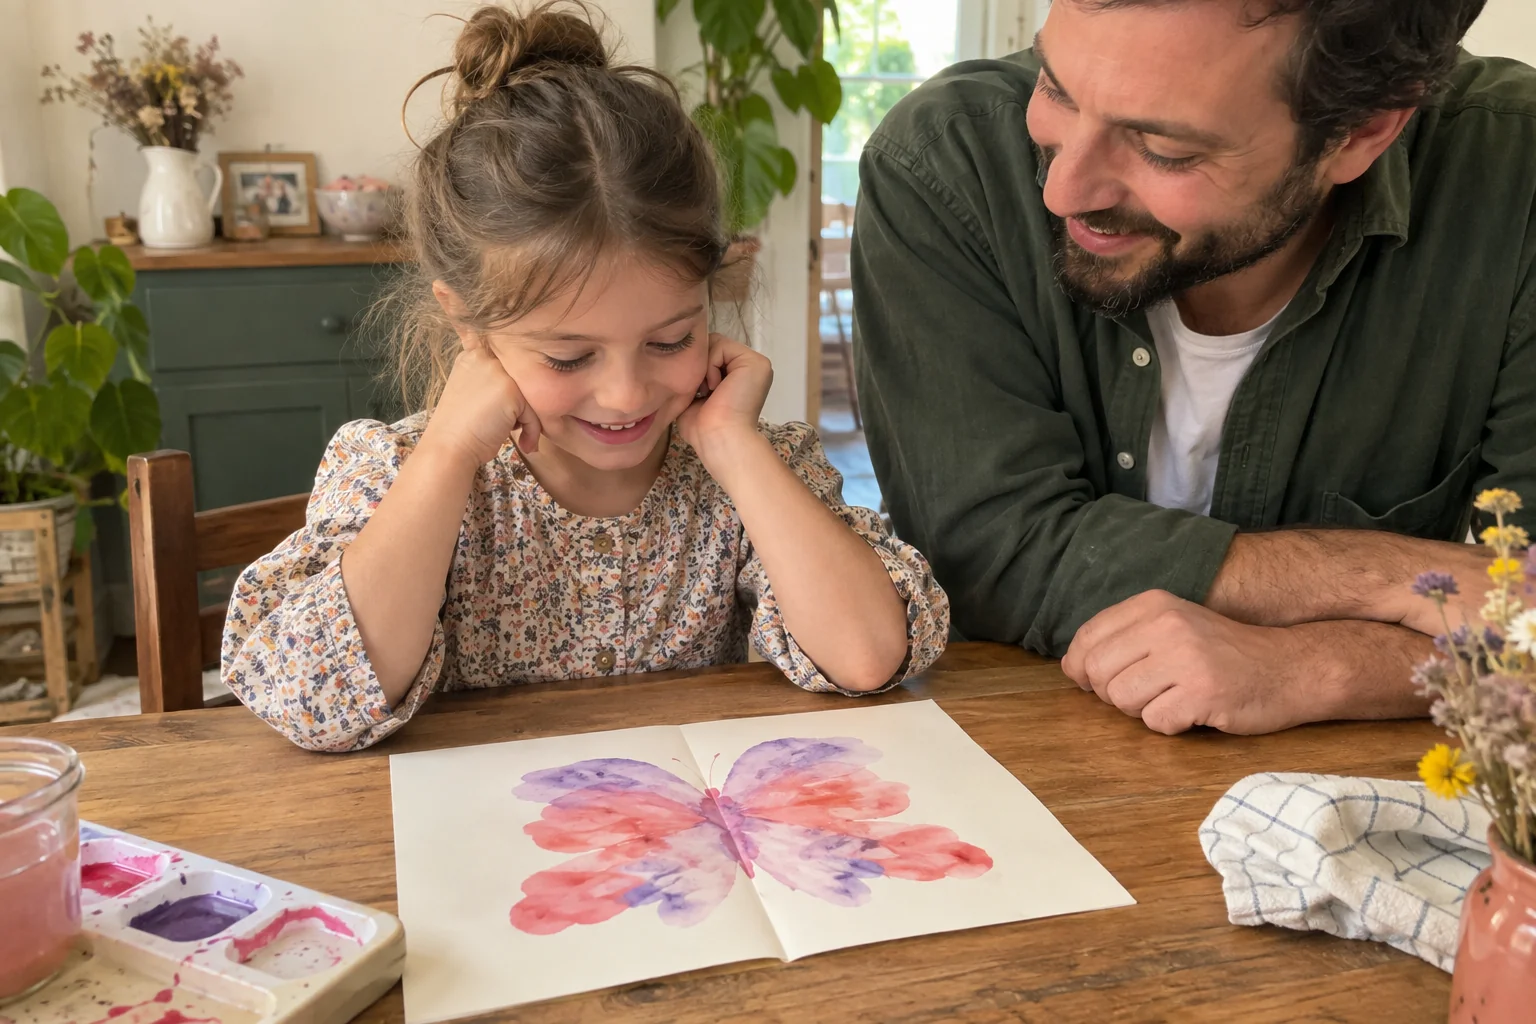
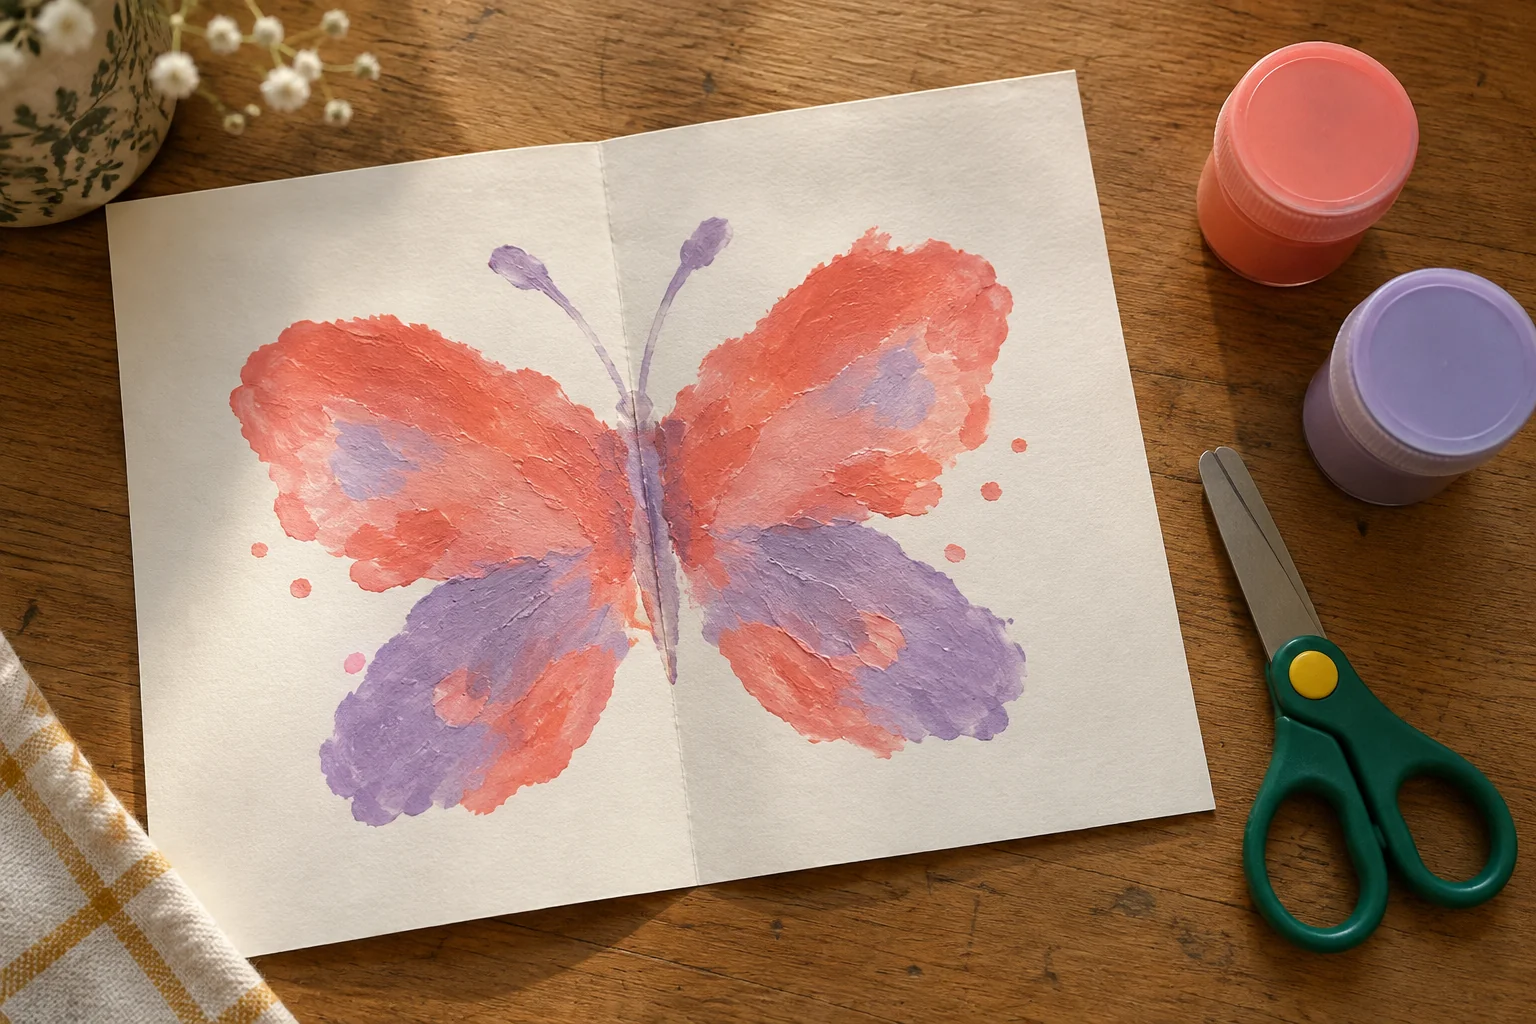
You can also place a few dabs of paint on one half of the paper, fold it, and press gently before opening. Compare the prints around the fold. The handmade result may be uneven: use it to discuss matching points, then return to folding or grids for a precise check.
2. Prepare three small challenges depending on age
Have thin paper, a pencil, a ruler, graph paper, and a few colored paper shapes ready. An unbreakable educational mirror is helpful but optional. Avoid small accessories if a younger child still puts objects in their mouth.
For ages 4 to 6, offer a folded sheet with a large shape near the axis. An adult can draw it; the child predicts then opens and closes the paper to compare. Don't demand a precise grid construction yet.
Around 7–8 years old, add two points at different distances from the fold. Around 9–10 years old, move on to an angular figure or a horizontal axis. These variations are playful possibilities, not academic expectations set by age.
If multiple children are participating, one can create the template while the other checks. Our guide on sibling activities for different ages helps give everyone an engaging role.
3. Play fold detective
Draw three large shapes on separate sheets of paper: a non-square rectangle, an isosceles triangle, and an invented irregular shape. Cut them out yourself if needed. Ask your child to propose a fold line that would make the outlines match up.
For the rectangle, try a fold passing through the midpoints of two opposite sides. Also try a diagonal fold: on a non-square rectangle, it won't work. The overlapping edges show it instantly.
For the isosceles triangle, the correct fold connects the top vertex to the middle of the opposite side. For the invented shape, there might not be a solution at all. The goal of the game is not to force finding an axis no matter what.
Have them state a hypothesis before each attempt: "I think this fold will work because..." Then open, look, and try again. This lets your child explain their reasoning without an adult jumping in with the answer right away.
4. Build an image with a mirror
Draw a straight line on a sheet of paper and, on one side, draw a small stepped outline made of three line segments. Place the mirror upright along the line with the reflecting side facing the drawing. An adult can hold it if needed.
Observe the image: the part closest to the line has its match right nearby; the section further away appears further out. Then move the mirror parallel to its original position. The reflection moves to a new spot, even though the drawing remains still.
Your child can predict the outcome before moving the mirror. However, keep the mirror on a clearly defined straight line: tilting it at random makes observation confusing. We aren't looking for funny distortions here, but the relationship between the figure and its axis.
To invent simple shapes before reflecting them, check out these drawing games designed for kids, keeping just a few simple lines.
5. Move to point-by-point grid drawing
On graph paper, draw a vertical axis along one grid line. Place a point on a grid intersection two squares to the left of the axis. Its match will be two squares to the right, on the exact same horizontal line.
Count the spaces between lines, not the lines themselves. Trace the movement with a finger: from the point to the axis, then from the axis to the new point. In this situation, the line segment connecting both points crosses the axis at a right angle.
Add two more points, then connect them to form a triangle. Plot each matching point before connecting the second shape. The Éduscol resource on space and geometry highlights working with grid paper and vertical or horizontal axes.
Equal distance doesn't mean placed anywhere on the other side. For a vertical axis, corresponding points stay at the same height. With a horizontal axis, they stay on the same vertical line. This accuracy prevents creating a drawing that is merely "roughly opposite".
6. Tell a shifted copy apart from a reflection
Draw a small right-pointing arrow to the left of a vertical axis. On the other side, offer two choices: an arrow still pointing right, and an arrow pointing left. Place them at the exact same distance so that only orientation sets the choices apart.
If your child picks the first one, they maintained the original direction, as if sliding it over. Folding the sheet proves the arrowheads don't line up. The second arrow shows the expected mirror effect.
The Lumni lesson on line symmetry breaks down the geometric relationship between a point, its image, and the axis. At home, folding is all it takes to make this relationship clear and verifiable, without needing to memorize a formal definition.
Then vary the tricks: right direction but wrong distance, forgotten point, or modified size. As with logic riddles, ask which clue allows eliminating an answer. A single counterexample can be enough.
7. Correct one difficulty at a time
If your child counts three grid squares on one side and two on the other, isolate a single point. If they flip top and bottom with a vertical axis, return to folding by marking a horizontal reference line. If they have understood but struggle to draw, enlarge the grid or let them place stickers.
Precision of movement and understanding symmetry are not the same thing. Fine motor skills games are a distinct activity; there is no need to turn every pencil mistake into a geometry lesson.
Also watch out for materials: a leaf or a face observed in nature does not necessarily show perfect symmetry. Say "this looks like a symmetrical arrangement," then use a constructed figure to check exactly. Do not ask your child to prove a property that the model does not have.
8. Invent a pattern and choose the next challenge
To finish, your child places three shapes on one side of an axis and asks you to build the other side. Intentionally slip in an easy-to-spot error, then let them explain how to fix it. They become responsible for checking.
If they want to continue, replace the vertical axis with a horizontal axis. Oblique axes can wait: it is better to understand two situations than to multiply random drawings. A point placed on the axis remains in the same spot after reflection; this is also a nice little challenge for older children.
You may keep the paper sheet with a sentence dictated by your child: "I check by folding" or "I count from the axis." This record describes their method, without scores or comparison with another child.
Do an outline and its pattern always have the same symmetry?
A symmetrical outline can contain a pattern that is not symmetrical. Draw a rectangle with a vertical line of symmetry, then add a mark on only one side. Folding matches the outline, but the mark has no matching partner. The complete picture changed while its outer edge stayed the same.
Compare the two diagram cases: outline alone, then outline with marks. Agree on what you are checking first. If you are checking the whole picture, the details inside matter too. A mark on the line of symmetry stays in place; a mark away from it needs a reflected partner.
To explore the outline’s continuity first, the open and closed line activity asks a separate question that does not depend on symmetry.
An outline can be closed without being symmetrical. Explore continuity first with open and closed outlines, then return to the fold line.
Frequently asked questions
Can children discover symmetry as early as preschool?
Yes, through guided hands-on activities: folding, observing a reflection, comparing two parts. Keep large shapes and a single axis. Precise drawing, grid distances, and formal vocabulary can come later, depending on your child's interest.
Does a line of symmetry always cut a figure into two identical pieces?
The useful criterion is exact superposition by folding along that line. Two pieces of the same size or area are not enough: their outlines must correspond in the right place.
Should you start with a butterfly?
It is not mandatory. A star, a few dots, or a small geometric pattern can be easier to check. A drawn butterfly works if its two sides were truly constructed to correspond to each other.
My child succeeds with a mirror but not without it: what should I offer?
Keep the mirror for checking and only ask for a quick prediction before placing it down. Then move on to a single point on a grid. Reducing the task helps see precisely what remains difficult, without imposing a whole new set of exercises.