

Table of Contents
- When do you know if a child is left-handed?
- 1. Never force the right hand over the left
- 2. Tilt the paper to the right
- 3. Place the hand below the writing line
- 4. Choose the right spot at the table
- 5. Adapt supplies and tools
- 6. Form letters in the correct direction
- 7. Give it time
- Frequently asked questions
About one in ten children is left-handed. For them, writing in a language read from left to right requires a little extra effort: where right-handed children "pull" their pencil, left-handed children must "push" it, risking covering what they just wrote or twisting their wrist. Nothing insurmountable, provided you know a few simple adjustments from their very first strokes. Here are seven tips, based on French National Education resources for preschool and kindergarten, to help a left-handed child write comfortably.
When do you know if a child is left-handed?
According to the Éduscol educational resource dedicated to left-handed children, the preference for a dominant hand for drawing and then writing starts to appear around age 3, but many children still hesitate at ages 4–5. By age 6, most have stabilized their preference. The same resource points out that left-handed people represent 10 to 13% of the population, slightly more often boys.
So there is no need to decide too early. Observe your child when drawing, but also when drinking, throwing a ball, using a spoon, or dealing cards. Do they switch hands while drawing? Do they spontaneously grab a pencil placed on their right with their left hand? If doubts persist when starting 1st grade (around age 6), a teacher or specialist, such as a pediatric occupational therapist or psychomotrician, can help clarify.
1. Never force the right hand over the left
Forcing a left-handed child to use their right hand serves no purpose and can make learning to write harder. Let them choose without making comments, and make sure no one teases them. As Éduscol emphasizes, being left-handed is an ordinary difference, just like eye color, and left-handed people are no more clumsy than right-handed people.
2. Tilt the paper to the right
This is the most important tip. A left-handed child writing on a completely straight sheet of paper tends to place their hand above the line with a hooked wrist—a tiring position that hides what they are writing. The solution recommended by Éduscol is simple: tilt the paper to the right, in line with the forearm, so the hand naturally rests below the writing line.
A handy visual visual aid works wonders: place a piece of colored tape on the table to show the angle and position for the paper. After a few weeks, the habit becomes automatic.
3. Place the hand below the writing line
With the paper tilted, show your child that they can see what they write: the hand stays below the line, with the wrist straight and aligned with the forearm. Holding the pencil slightly higher than right-handed children do, about an inch from the tip, also allows a clearer view of their strokes. The pencil grip remains the same as for right-handers: our article on holding a pencil correctly details the tripod grip.
4. Choose the right spot at the table
A left-handed child sitting to the right of a right-handed child guarantees bumped elbows. Éduscol puts it clearly: do not place a left-handed child to the right of a right-handed child. At home as well as at school, sit them on the left side, or at the end of the table.
Also consider lighting: for a left-handed child, light ideally comes from the right, so the shadow of their hand doesn't fall across the page.
5. Adapt supplies and tools
A few tools make a huge difference for a left-handed child:
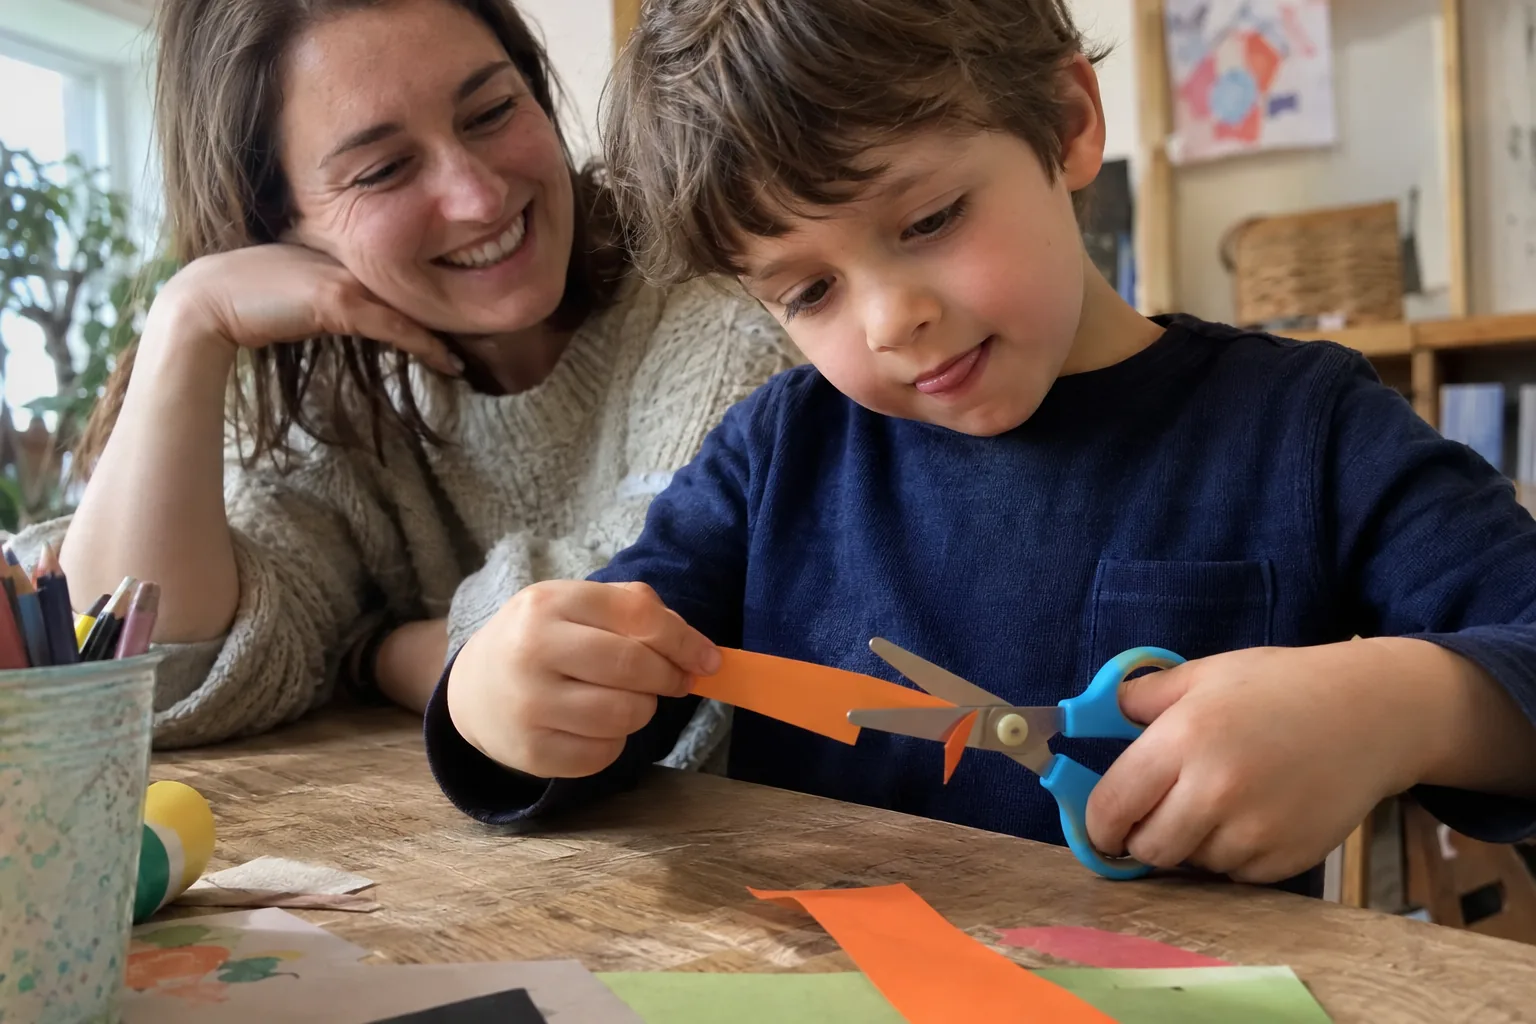
- Left-handed scissors with reversed blades: with standard scissors, a left-handed child cannot see the line they are cutting.
- Quick-drying pens, to avoid smudging the page as the hand glides over it.
- A left-handed pencil sharpener, which turns in the opposite direction.
- Top-bound spiral notebooks rather than left-bound ones, which interfere less with the hand.
For handwriting practice guidelines, Éduscol recommends placing the model label in the center of the sheet rather than on the right, so as not to encourage starting on the wrong side.
6. Form letters in the correct direction
The direction of letter strokes is the same for left-handed and right-handed children: you start at the top, and writing moves from left to right. At first, your child might be tempted to draw certain letters backward or write in mirror image, which also happens with many right-handers. Guide them using directional arrows and starting dots, as described in learning to write their first name.

7. Give it time
Because they push their pencil, a left-handed child sometimes writes a bit more slowly at first. This is completely normal and improves with practice. Avoid speed comparisons and focus on legibility instead. Fine motor skill activities, such as cutting, threading beads, or playing with clay, strengthen the hand without pressure: our quick fine motor games are perfect for this.
Frequently asked questions
At what age do you know if a child is left-handed?
The preference starts to emerge around age 3, but many children still alternate at 4–5 years old. Around age 6, most have a stable dominant hand. It is best to observe without forcing a conclusion too early.
Should you encourage a hesitant child to choose their right hand?
No. Let them choose freely and observe their everyday movements. Forcing a hand does not help them; if persistent doubts remain, consult their teacher or a professional.
My left-handed child writes with a hooked wrist, what should I do?
Tilt the paper to the right, aligning it with their forearm, and show them that they can place their hand below the writing line. A piece of tape on the table helps them find the right angle again.
Do left-handed children face more difficulties in school?
Not if they are properly seated and equipped. The main challenge involves handwriting mechanics early on; with proper paper orientation, hand position, and table seating, it usually resolves smoothly.
To go further
Preview before choosing
Les Petits Explorateurs · Ages 4–6
For preschool and early elementary children discovering shapes, numbers, and the fun of drawing lines. An adult reads the instructions.