
Table of Contents
- 1. Compare before bringing out the ruler
- 2. Invent a unit and discover its limitations
- 3. Understand what a ruler tells us
- 4. Read a length even when the starting point isn't zero
- 5. Choose between millimeters, centimeters, and meters
- 6. Estimate, measure, then explain the difference
- 7. Make something that actually needs to fit
- 8. Revisit mistakes through three challenges
- Frequently asked questions
- Which instrument answers the question you are asking?
Your child places their ruler against a pencil, announces "twelve", and looks at you. Did they measure twelve centimeters, count twelve hash marks, or simply read the number near the tip? The result alone doesn't tell you. Ask them to show you the start and end of what they measured: their gesture will tell you much more.
This progression goes from comparing ribbons to initial conversions. For ages 4–6 (PK–K), focus on movable objects; for ages 7–10 (grades 2–5), gradually introduce the ruler and units. These ages are guidelines: go back to whichever step truly helps your child.
1. Compare before bringing out the ruler
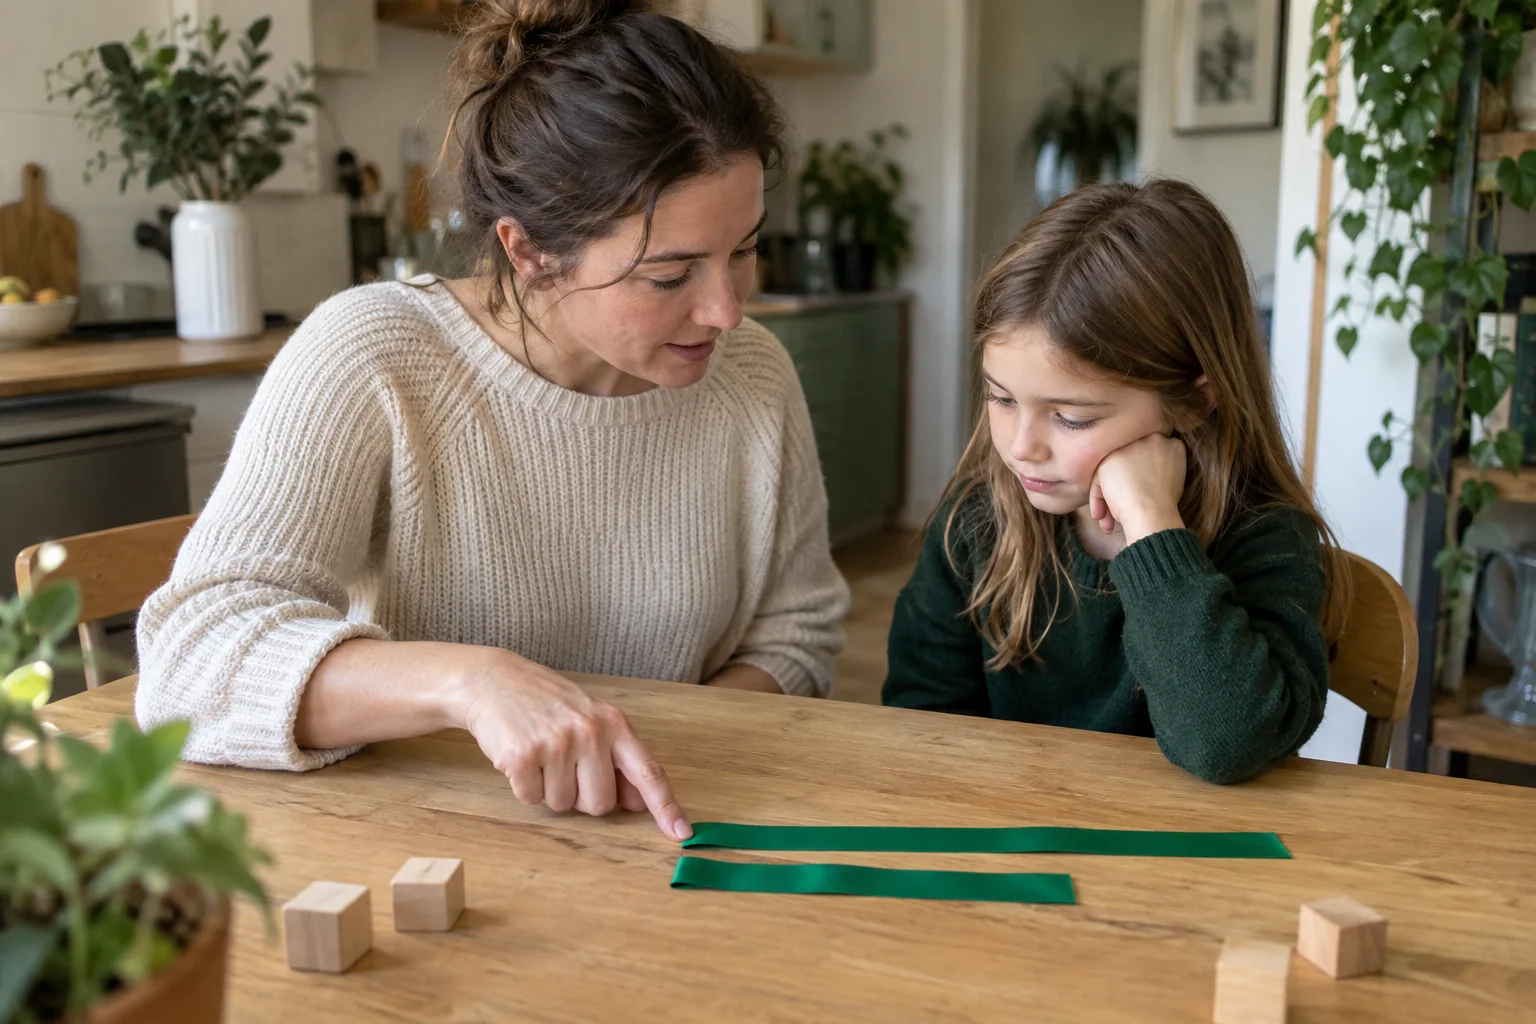
Prepare three strips of paper of different lengths. Lay them out in random order and ask which one is the longest. Then allow the child to move them around. If they only look at the one sticking out farthest to the right, subtly slide a short strip forward: it will appear to win.
Work together to find a fair comparison. Align the starting edges of the strips against the side of a book, keeping them straight, then look at their other ends. Order them from shortest to longest. Flip a strip around: its length doesn't change.
When you can't move the object
To compare two distant shelves, take a sufficiently long strip of paper. Mark the length of the first one, then carry that reference over to the second one. No numbers are needed. You can decide "longer", "shorter", or "just as long" without measuring yet.
Ask what exactly is being compared: the shelf's length, depth, or height? The word "big" remains ambiguous when a box is long but not very tall.
2. Invent a unit and discover its limitations
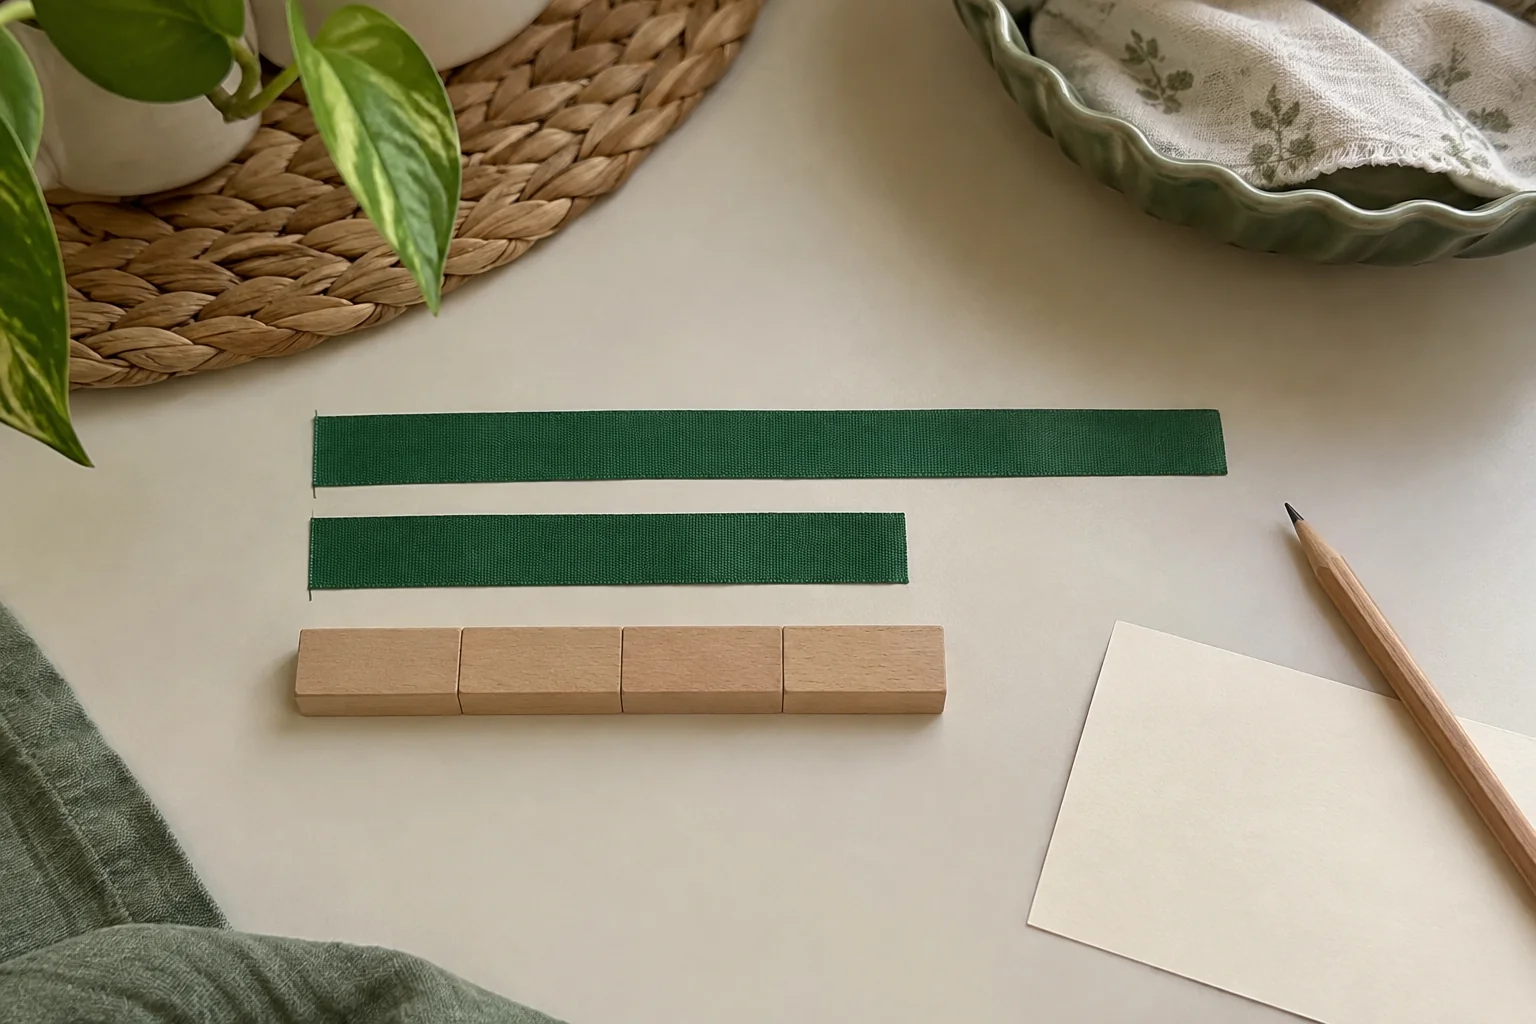
Choose identical building blocks. Line them up along a book, always facing the same direction. Each piece must touch the next one, without overlapping. The book might measure five block lengths, or a little more.
Repeat with shorter blocks: you will need more of them for the same book. The book didn't get longer; the unit changed. Our ideas for counting in daily life can support counting skills, but here each counted object must also represent the same length.
Next, send a request to another family member: "Make a paper strip six blocks long." If they use a different model of block, their strip will turn out differently. That is a concrete reason to adopt a common unit. The Réseau Canopé worksheet on the usefulness of units explains this link between repeating a unit and communicating a measurement.
If the last block sticks out past the edge, say "between five and six units". Don't force every measurement to yield a whole number.
3. Understand what a ruler tells us
Take a ruler with clearly legible centimeter markings. Point out the space between 0 and 1, then between 1 and 2. Each space represents one centimeter. It is the intervals we measure, not the tick marks that separate them.
To measure a line segment drawn on paper, place its starting tip at zero. Keep the ruler lined up along the segment and read the mark reached by the other tip. Check these actions separately before asking for a new measurement.
The trap of the plastic margin
Some rulers have a small gap before the zero mark. Intentionally place the start of the segment at the outer edge of this gap. Can the child explain why the measurement reading changes? Move back to the correct positioning and compare.
If they announce four centimeters between 0 and 3, they might have counted the four tick marks. Have them trace the spaces with a finger: one, two, three. Use a simple ruler on a clear surface; hard-to-read markings or multiple scales can complicate observation unnecessarily.
4. Read a length even when the starting point isn't zero
A line segment starts at 3 cm and ends at 8 cm: its length is 5 cm. Count the five intervals, then write 8 − 3 = 5. The number at the end marks a position; it gives the actual length directly only when the starting point is zero.
In the lab, sliders adjust the start and length of the object. First change its starting point without changing its length, then enter your answer in units of the virtual ruler and check.
This virtual ruler helps explain scale markings. It is not physically to scale: do not place a physical ruler on the screen to measure the graphic.
Try starting at 5, then starting at 0, while keeping the same length. What stays the same? What changes? If subtraction is tricky, count the intervals before connecting back to the calculation. Our mental math games can later help build familiarity with these differences, without replacing the concept of measurement.
5. Choose between millimeters, centimeters, and meters
Centimeters work well for describing the length of a small object. Meters are practical for a room or a large piece of furniture. Millimeters allow for a more precise measurement. These are three units of length: they change how we express the measurement, not the size of the object.
Start by remembering two relationships: 1 m = 100 cm and 1 cm = 10 mm. On a ruler with millimeter markings, count the ten small spaces between two centimeter marks. On a tape measure, find the one hundred centimeters that make up the first meter.
Offer accessible equivalencies: 2 m equal 200 cm; 3 cm equal 30 mm. To compare 90 cm and 1 m, express both measurements in centimeters. The number 90 is larger than 1, but 90 cm is still shorter than 100 cm.
The Éduscol benchmarks on magnitudes and measurements emphasize reference lengths. Build your own using objects you have actually measured.
6. Estimate, measure, then explain the difference
Pick a notebook, a pencil, and a table. Before measuring, everyone offers an estimate with their chosen unit. Write it down, then find an appropriate tool: a ruler for small straight objects, a measuring tape for a longer distance.
The Canopé resource on meters and centimeters directly connects order of magnitude to tool selection. At home, a simple question is enough: "Could your table measure only two centimeters?"
If the estimate is far off, find a helpful benchmark for next time. Don't look for a winner. A child who says "less than a meter, but more than my ruler" is already learning to benchmark a length.
For a family record, everyone picks an object and dictates its measurement. Our guide to encouraging independence helps you give genuine responsibility without turning every gesture into a correction.
7. Make something that actually needs to fit
Give a project: make a bookmark that fits inside a notebook without sticking out. The child looks at the notebook, picks a length, measures it on a paper strip, marks the end point, and cuts with child-safe scissors. Finally, they check by placing their creation inside the notebook.
A result that turns out slightly too long isn't an abstract failure: you just need to decide what to trim down. Ask "by how much?" only if that question is within their reach. With a younger child, overlapping and marking is enough. For other activities, explore our creative games.
Later on, prepare two ribbons where one needs to measure half the length of the other. Fold first to double-check, then measure. Our guide to understanding fractions builds on this link between sharing and length. However, introduce only one new challenge at a time.
8. Revisit mistakes through three challenges
The quiz features three challenges about choosing a unit and simple comparisons or conversions. Keep the ruler and measuring tape handy. Your child can explain their choice before checking the correction.
If they confuse meters and centimeters, show a sample length for each unit. If they only read the ending mark, return to the offset segment. If they forget the unit, pretend to be a recipient who does not understand "cut an eight strip." Each error suggests a specific hands-on adjustment; there is no need to restart the whole activity.
Finish by asking them to teach you a technique. Showing you how to align the zero mark or check an estimate brings a practical conclusion to the session.
Which instrument answers the question you are asking?
A ruler answers a question about length. It does not establish that a larger object has more mass than a smaller one, or that a taller container holds more than a shorter one. Before choosing an instrument, identify the attribute to compare and keep that attribute the same throughout the activity.
| Attribute | Specific question | Possible instrument |
|---|---|---|
| Length | How long is this ribbon? | Ruler or measuring tape |
| Mass | Which object has greater mass? | Balance scale |
| Capacity | Which container holds more? | Pouring with the same unit container |
If a child says, “This box is bigger, so it is heavier,” separate the two ideas. Compare a clearly named length first, then try a mass comparison using a balance. The second result does not follow from the first. Record the attribute and instrument alongside the observation: a number alone can hide a different question.
To explore a different attribute, compare two objects on a balance: an object’s length does not establish its mass.
Frequently asked questions
At what age should children learn to use a ruler?
Comparing objects can start before reading numbers. Introduce the ruler when your child understands the concept of repeating a unit and can spot a few tick marks. Adapt to their practical experiences and what they are learning in class rather than a specific birthday.
Why does my child start measuring at 1?
They might associate measuring with counting, a sequence that usually starts with one. Show them that zero indicates the starting point: no centimeters have been covered yet. Then, move their finger forward one interval at a time.
What should I do if the measurement falls between two centimeters?
First accept "between seven and eight centimeters." If they know millimeters, refine the measurement, for instance 7 cm and 4 mm. There is no need to introduce decimal notation immediately to make the answer more precise.
Can we use a ruler with a damaged zero mark?
Yes, if other tick marks remain legible: place one end on a known mark, then calculate the difference to the end mark. For a first discovery, however, prefer an intact ruler to avoid stacking difficulties.