
Table of Contents
- 1. Set up a simple workshop suited for your child
- 2. Experiment: are all metals attracted?
- 3. Experiment: guide an object through cardboard
- 4. Experiment: flip the poles of a magnet
- 5. Experiment: find the distance where movement starts
- 6. Experiment: distinguish an attracted object from a magnet
- 7. Adapt questions for ages 4 to 10
- 8. Keep a record that makes them want to try again
- Frequently asked questions
A paper clip moves without any hand touching it. Two magnets seem to refuse to come together. For a child, these small events trigger a real question: what is acting between the objects? There is no need to start with a complicated definition of magnetism. First, you can predict, try out, and then describe what you saw.
This guide offers five experiments with magnets, along with two interactive workshops. Pick just one activity to start with. The goal is to compare a few situations carefully, not to rush through a list as quickly as possible.
1. Set up a simple workshop suited for your child
Provide two large educational magnets in good condition suitable for the age indicated on their packaging, a sheet of paper, thin cardboard, and a few objects chosen by the adult. Set aside small loose magnets, magnetic spheres, and strong magnets. Small test objects should remain under direct adult supervision and be put away after the activity.
The DGCCRF highlights the risks of accessible magnets in toys. Following the manufacturer's instructions for the equipment matters more than the age suggested by an article. With a child who still puts objects in their mouth, choose only the guided screen game or a demonstration without accessible small parts.
Set up away from electronic devices. Designate one zone for tested objects and another for those waiting. This clear setup then allows your child to lead part of the investigation, just like in activities to encourage independence.
2. Experiment: are all metals attracted?
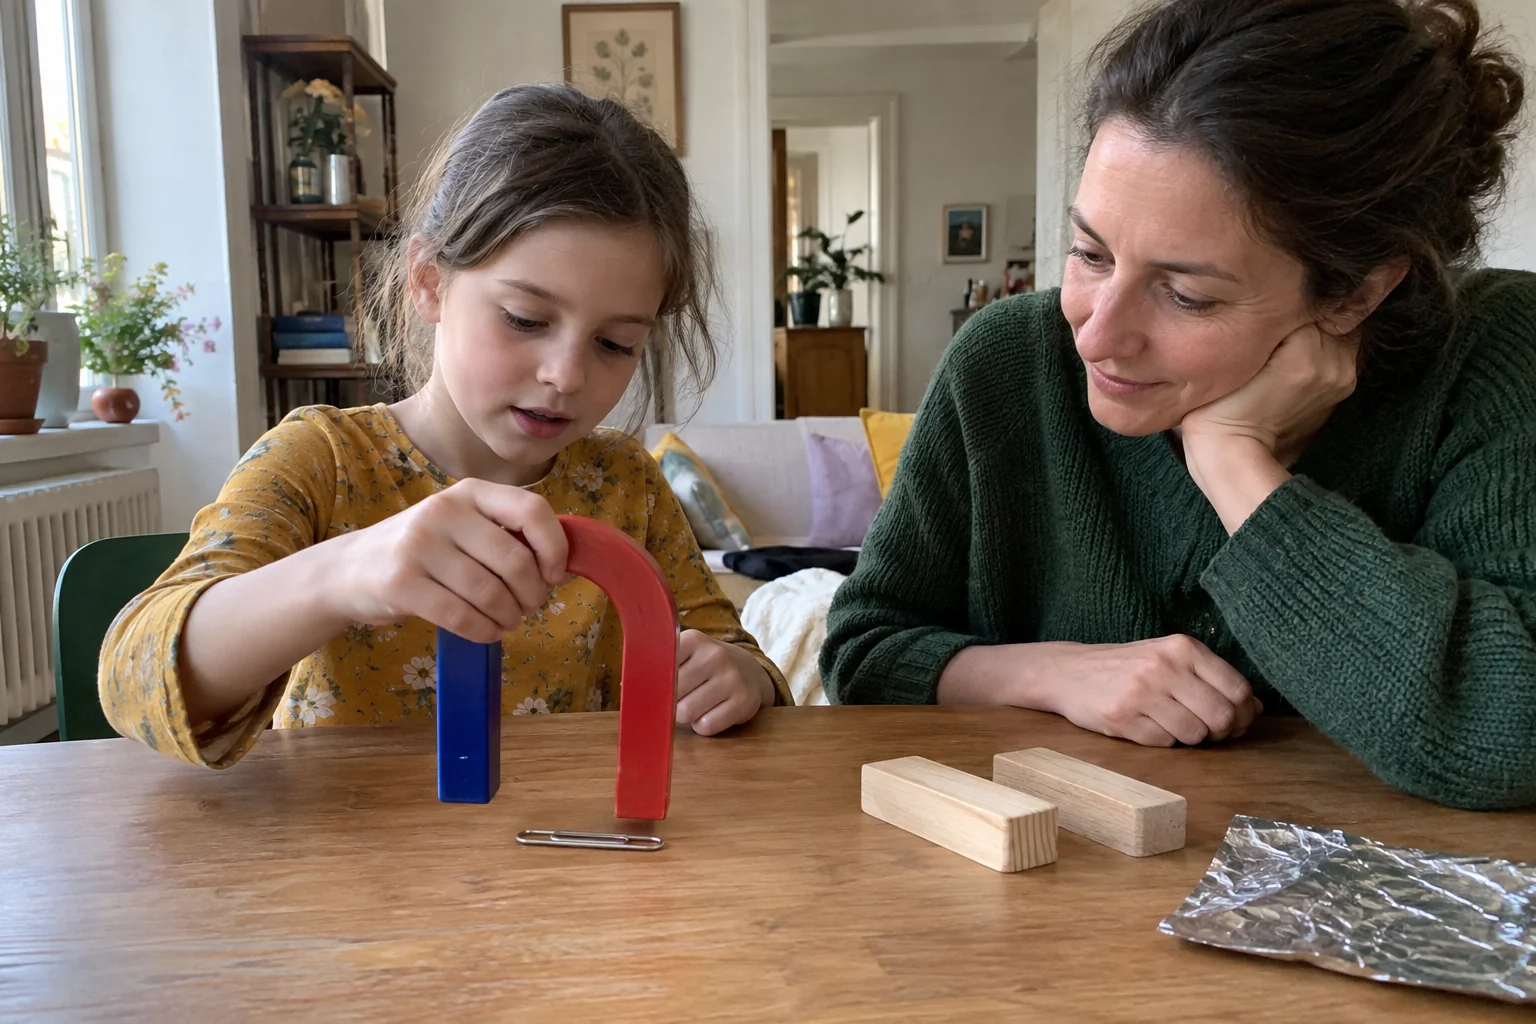
Start with three materials that are easy to tell apart: an ordinary steel object, a piece of wood, and a folded piece of aluminum foil. An adult can prepare a large paper clip and handle small items. Ask: "Which one should move toward the magnet? What makes you think that?" Listen to the idea before testing.
Slowly bring the same magnet close to each object placed on the same surface. Classify your observations into two groups: attracted in this test, not attracted in this test. Iron and ordinary steel are attracted; aluminum and copper do not show this visible attraction with a classroom magnet.
The NASA educational short video on magnetic metals addresses this exact confusion. A shiny appearance is not enough to predict the result. A spoon or a coin can contain different alloys: it is better to keep them as objects to examine rather than giving them a single universal answer.
Then review the game's materials. The proposed choices are precise so that checking them makes sense.
3. Experiment: guide an object through cardboard
Draw a very short track on thin cardboard placed between two stable supports. Place a large steel paper clip on top, handled by an adult if necessary. Slide the magnet underneath the cardboard and look for a position that allows moving the paper clip without touching its surface.
Let your child describe the path before making it longer: "You move below and the paper clip follows on top." You can turn the track into a river with two wide banks. Avoid sharp turns at first; the difficulty should come from the scientific question, not an impossible maze.
Next, insert a second sheet, then a thicker piece of cardboard. Always use the same object and magnet. If movement stops, you have observed a limit in this setup. The cardboard is not a barrier that automatically cancels magnetic force: extra distance plays a role too.
To vary the game, reuse a path already familiar from labyrinths for children. A hand-drawn path is all you need; no specialized equipment is required.
4. Experiment: flip the poles of a magnet
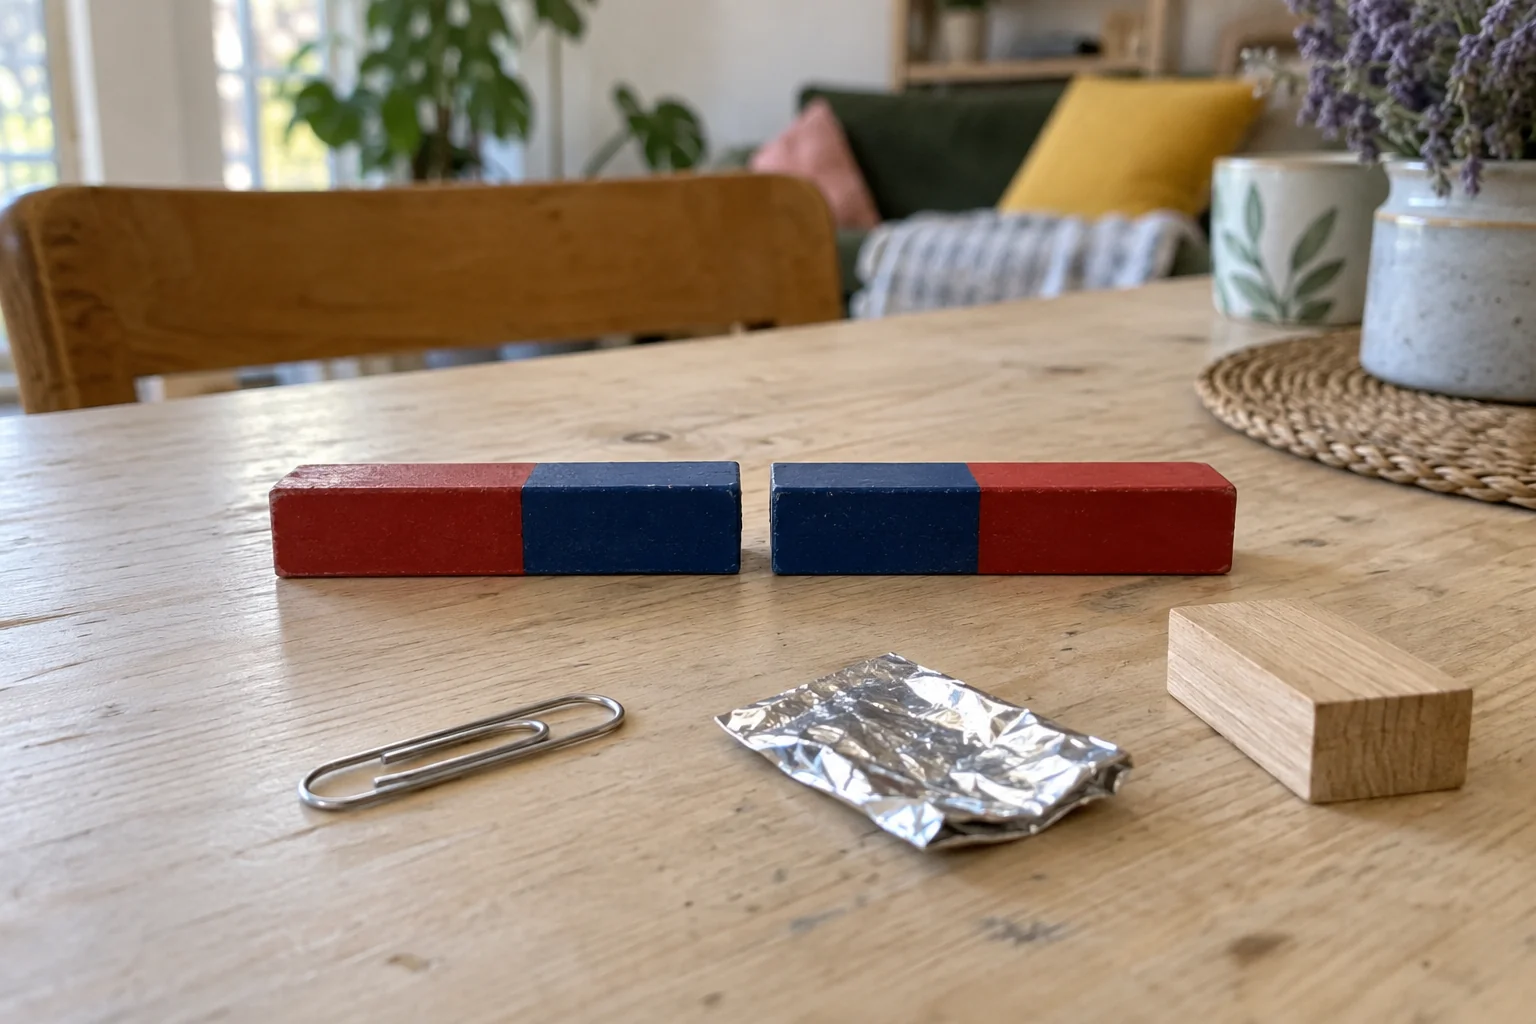
Now present two bar magnets whose ends bear the N and S markings. Bring them close together lengthways gently, without letting them snap together. Certain orientations pull them together; others push them apart. Turn just one magnet around and try again.
The rule concerns the poles facing each other: north against south, they attract; north against north or south against south, they repel. The letters indicate magnetic poles, not positive and negative electrical charges. Colors help orient yourself, but their convention should be verified on your equipment.
In the workshop below, flip the left magnet first, then the right one. Before each action, state your prediction. Flipping both one after the other restores the original relationship between the facing poles.
The drawn movement illustrates attraction or repulsion. It does not measure the strength of a real magnet. With physical equipment, the feeling also depends on the distance, shape, and strength of the magnets.
5. Experiment: find the distance where movement starts
Place the same large paper clip on a smooth table. Hold the magnet far away, then bring it closer very slowly. When the paper clip starts moving, stop and mark the approximate position. Do three trials, replacing the paper clip in the exact same spot each time.
The marks might be close without being identical. Hand speed, paper clip orientation, or friction can alter what you observe. This is not an error to erase: ask how to make the next trial more comparable.
An older child can use a ruler to note the approximate distance. Read together the guide to measuring lengths if starting at zero is not familiar yet. Note the unit and keep the same method.
Do not look for a single "correct distance" valid for all magnets. Your result describes your equipment in this specific situation. This precision is already a great habit for reporting results.
6. Experiment: distinguish an attracted object from a magnet
After sorting, a child might conclude: "The paper clip is a magnet because it sticks." Test this idea with two ordinary paper clips that have not been magnetized. Bring them together: they generally do not behave like the two bar magnets from the previous experiment.
An object made of iron or steel can be attracted without being a permanent magnet itself. Some objects can also retain magnetization after contact with a magnet: if your test gives an unexpected result, change paper clips and describe what changed.
To make the distinction concrete, prepare three paper labels: "our magnet," "attracted object," "object not attracted in the test." Have your child match them to the materials before explaining their classification to you.
This approach complements science experiments to do at home: describe the observation, suggest an explanation, then figure out how to test it.
7. Adapt questions for ages 4 to 10
With a 4–6 year old, focus on actions and vocabulary: attract, repel, bring closer, move away. Two contrasting objects are enough. The adult handles materials unsuitable for independent play. A dictated sentence or a drawing can keep a record of the discovery.
For ages 7–10, add a written hypothesis and a controlled comparison. For example: “I think the thicker cardboard will make movement harder.” Keep the same magnet, the same paperclip, and the same path to test this idea.
These guidelines remain flexible. An enthusiastic child may want to try many times; another might prefer to talk about a single surprise. Ask what they would like to change next and help them choose a realistic adjustment.
Between siblings, divide the roles: announcing the prediction, observing, then drawing. Rotate these roles, just like in our activities for siblings of different ages.
8. Keep a record that inspires you to start again
Divide a piece of paper into three columns: “I thought,” “I tried,” “I observed.” Your child can write, dictate, or draw. A useful record doesn't need to look perfect: it just needs to show what materials were used and what happened.
Finish with an open question: Would curved cardboard change the movement? Would two different magnets produce the same result? Save one for a future session, with suitable materials.
You can also move from invisible forces to light with experiments with shadows. The question changes, but the routine stays the same: predict, observe, and explain in your own words.
Frequently asked questions
Are all metals attracted to a magnet?
No. Iron and ordinary steel are attracted in these tests, unlike copper or aluminum. For an object whose composition is unknown, make an observation rather than drawing conclusions based on its color.
Why do two magnets repel each other?
Two identical poles placed face-to-face repel each other. Flipping just one of the two magnets presents opposite poles, which attract. Always check the ends that are directly facing each other.
Can children play with magnets starting in preschool?
Only with equipment intended for the child's age and with an adult present. Small loose magnets and magnetic balls must be excluded. Observing a demonstration or doing a guided interactive workshop also lets children explore these phenomena.
Why doesn't the experiment work through my cardboard?
Check that the object is properly attracted on direct contact, then try a thinner support surface. Distance, the weight of the object, and friction can prevent movement with your set-up; this does not mean that all cardboard blocks magnetism.