
Table of Contents
- 1. Start with a puddle and two hypotheses
- 2. Understand what we can't see: evaporation
- 3. Where do clouds and rain come from?
- 4. Where does the water go when it hits the ground?
- 5. Observe water in a sealed baggie
- 6. Follow multiple paths in the interactive landscape
- 7. Keep a mini detective journal
- 8. Connect your observations with the quiz
- Frequently asked questions
- Does a changing water level prove evaporation?
The puddle in front of the house was there this morning; by this afternoon, it has almost disappeared. "Did someone drink it?" your child asks. This question kicks off an investigation: water can move around, soak into the ground, and change states. It doesn't turn into "nothing."
To explain the water cycle to 4-to-10-year-olds, start with observations close to home: a foggy window, rain, a gutter. Then connect them step by step. The goal isn't to recite five complicated words, but to be able to describe several paths water can take.
1. Start with a puddle and two hypotheses
Observe a small wet spot in a safe location. Ask: "What do you think could happen to this water?" Welcome several ideas before looking for the right explanation. On a permeable surface, water can soak into the ground; another portion can evaporate. So a drop in water level doesn't prove just one single cause by itself.
To isolate evaporation more clearly, pour a little water into a waterproof saucer placed flat out of young children's reach. Mark the water level and check back later, without moving it.
Tailor the question to your child's age
With a 4–6-year-old: "Where is the water now?" is enough. With a 7–10-year-old, separate observation from explanation: "The water level went down" is what we observe; "some of the water evaporated" is the explanation proposed once leaks and spills have been ruled out.
2. Understand what we can't see: evaporation
Liquid water can enter the air as water vapor. This vapor is an invisible gas. Evaporation occurs at the surface of water and doesn't require boiling: laundry dries and puddles shrink at everyday temperatures.
Heat from the Sun contributes to this change in nature. Wind and air humidity also influence drying speed. So avoid jumping to a quick conclusion like "our saucer dried up only because it was warm."
The USGS scientific glossary confirms in particular that water vapor in the air is invisible.
3. Where do clouds and rain come from?
Some of the water vapor can turn back into liquid: this is condensation. This phenomenon can happen when moist air cools down sufficiently. In the atmosphere, tiny droplets form around microscopic particles.
A visible cloud contains droplets, ice crystals, or both. It is not a pocket of invisible vapor that suddenly turned white. The Météo-France page on cloud composition clarifies this distinction.
Cloud droplets don't all fall right away
Tiny particles can remain suspended and be carried along by air movements. When they get heavy enough, they can fall: this is precipitation. Depending on conditions, this means rain, snow, or hail.
For a younger child, keep it simple: "Inside a cloud, there are tiny drops of water. Some get bigger and fall down as rain."
4. Where does the water go when it hits the ground?
After rain falls, look for two pathways: water moving across the surface and water soaking into the soil. The first is called runoff; the second is infiltration. A paved sidewalk and a patch of dirt often show different results, but soil condition and slope matter too.
Infiltrated water can be held in the dirt, absorbed by plants, or seep down further to replenish underground aquifers. These reserves fill pores and cracks in the bedrock: imagine a sponge or fractured rock rather than a giant underground lake in a cave.
Streams flow into rivers, which often reach the ocean. Some of that water evaporates again. Plants play a part in this exchange too, releasing water vapor through their leaves: this process is transpiration.
The USGS illustrates these different movements and storage locations. The cycle features many branches and varied timelines—not a single mandatory loop.
5. Observe water in a sealed baggie
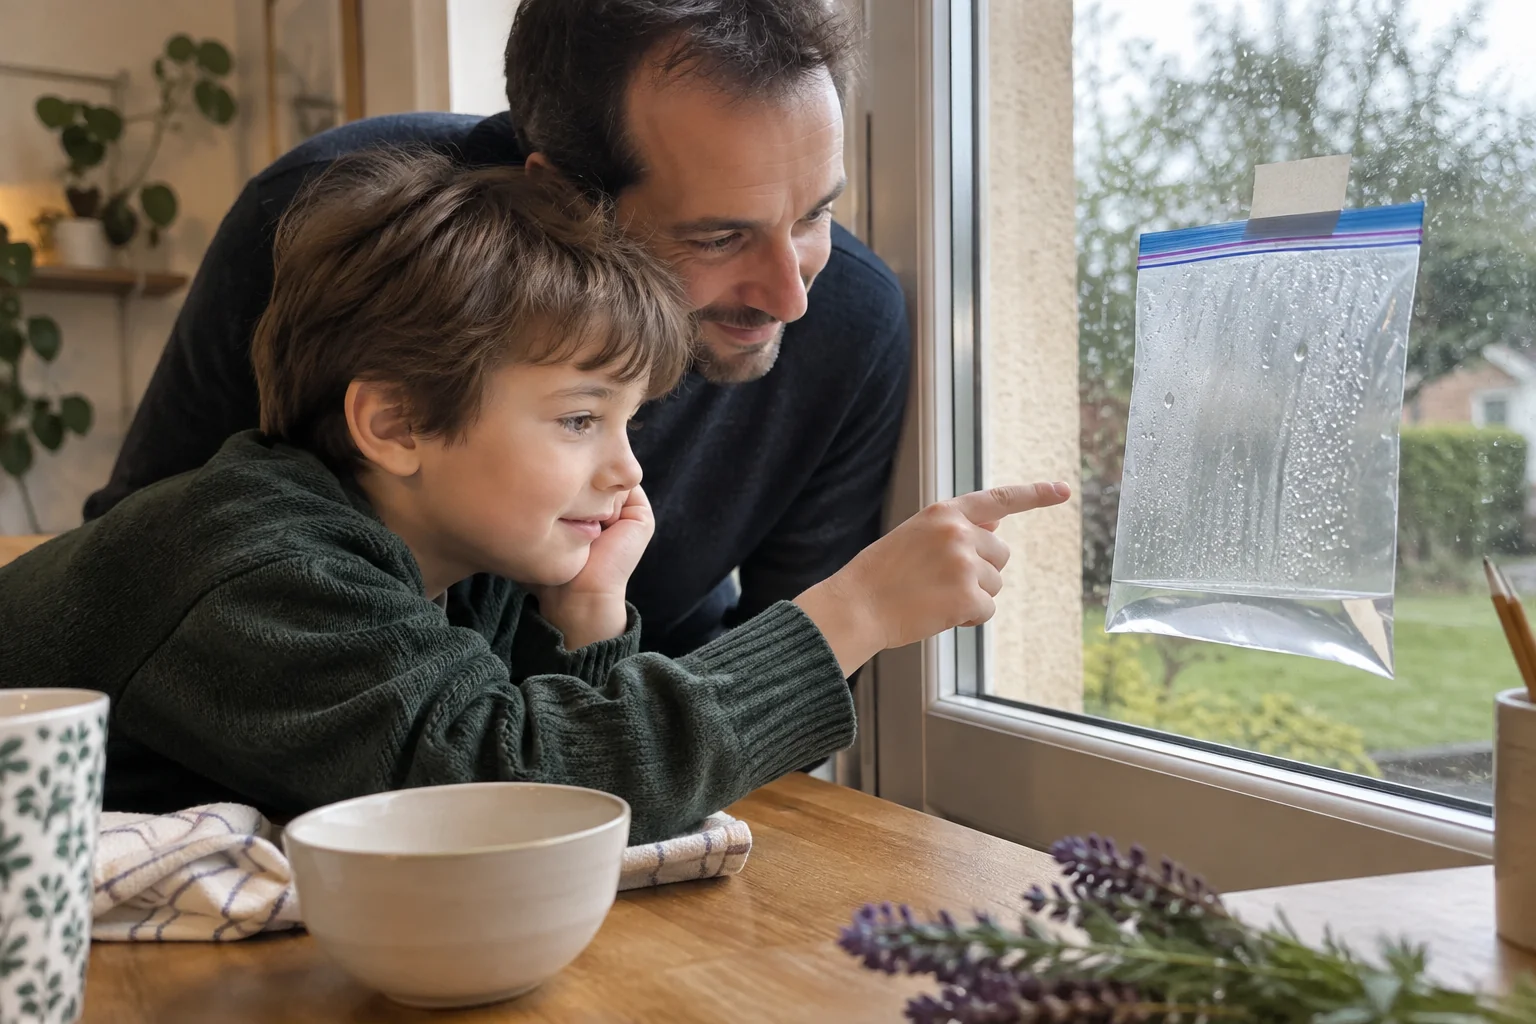
This setup requires minimal supplies: a small, sturdy clear ziplock baggie, a few spoonfuls of room-temperature water, tape, and a marker. An adult sets up and attaches the baggie. Keep baggies out of reach of toddlers.
Pour in enough water to form a shallow layer. Seal tightly, check for leaks over the sink, and wipe the outside dry. Draw a mark at the starting water level. Tape the baggie to a window accessible to an adult, in a bright spot, without blocking the window handle or posing a fall hazard for your child.
Observe before touching
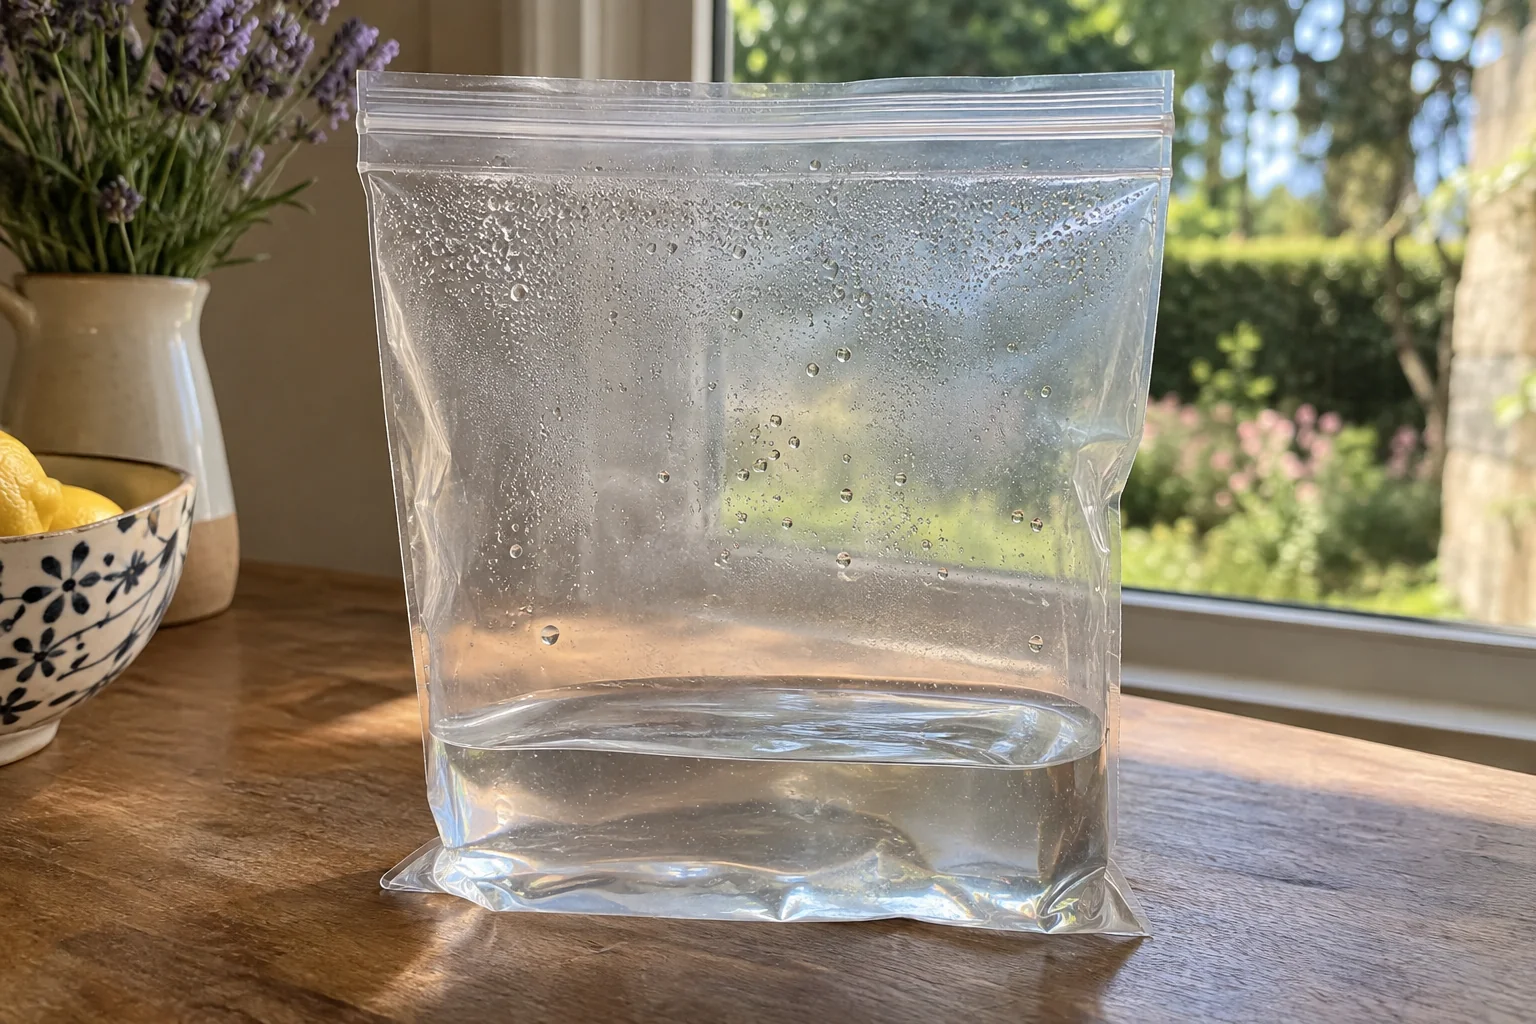
Draw the setup at the start. Check back a few hours later, then the next day: are droplets appearing on the inside walls above the water line? Are some combining and trickling down? Be sure to note "no visible change" whenever that's the case.
Some of the water can evaporate and then condense on a cooler surface. Larger drops can then slide down. No heating appliances, boiling water, or warm lamps are needed. The adult removes the setup after observing and puts the baggie away.
What this experiment doesn't prove
The baggie doesn't create a real cloud: the drops gather on plastic. It doesn't show ground infiltration, water tables, or the full process of precipitation formation. A drop sliding down the wall is more like surface runoff than rain falling from a cloud.
If nothing shows up, don't promise results at a specific time. Temperature, light, and temperature differences between water, air, and plastic all play a part. Other home science experiments let you explore other observations afterward.
6. Follow multiple paths in the interactive landscape
Explore the landscape below by clicking on a step. Locate surface water, air, clouds, and soil, then describe what connects these places.
One child might explain: "Water in the lake evaporates, condenses, and comes back as rain." Another adds: "Some of the rain soaks into the soil." Every single drop doesn't follow the exact same route.
You can also ask: "Where could water stay for a long time?" A glacier, lake, or groundwater aquifer can hold water for years. Météo-France's overview of the water cycle provides a great background summary for adults.
7. Keep a mini detective journal
Set aside a page with three columns: "I see", "I think", "I want to check". Your child can draw if writing takes too much effort. A sketched drop with an arrow is worth more than a full paragraph dictated by a parent.
Over a few days, alternate checking the baggie, taking a walk after the rain, and hunting for dry vs. wet surfaces. Observe water flow away from traffic, and stay indoors during thunderstorms.
Our fall activities offer more ways to explore outdoors. To build descriptive vocabulary like "transparent", "damp", or "trickle", check out our vocabulary building games. In the evening, stargazing with kids can also start with a simple observation about the clouds.
8. Connect your observations with the quiz
Before checking answers, let your child explain their reasoning. If they hesitate, reflect back on a real scene: droplets in the baggie, the saucer, or a ditch.
The quiz is mainly useful for spotting misconceptions: invisible vapor vs. visible droplets, soaking into the soil vs. surface movement. Address one single concept at a time, then invite your child to explain the water journey in their own words.
Does a changing water level prove evaporation?
The level can rise when you add an object: the object displaces water. It can fall after a spill or after water is removed. Those visible changes do not, by themselves, demonstrate liquid water becoming water vapour.
| Observation | What changed | Next question |
|---|---|---|
| Level rises after adding an object | Space occupied in the container | What happens when you remove it? |
| Water appears on the table | Some water left the container | Was there a splash? |
| Amount decreases over time | A situation to document | Are the other conditions comparable? |
The sink-or-float activity focuses on an object’s position, not on demonstrating the entire water cycle. Keep the records separate: describe the object in one and track water and observation conditions in the other.
Before comparing levels, check that you use the same container, the same viewing position, and no deliberate addition or removal. A rough mark supports discussion of a change; it cannot calculate an exact quantity evaporated. If handling disturbs the setup, record that instead of erasing the first observation to obtain an expected result.
Frequently asked questions
How do I explain the water cycle to a four-year-old?
Start with three main ideas: water goes up into the air, tiny drops form clouds, and water falls back down. Then add what happens on the ground. Scientific terms can accompany hands-on observations without becoming a list to memorize.
Can you see water vapor?
No, water vapor is invisible. Condensation mist, fog, and visible clouds are made of tiny liquid droplets, sometimes accompanied by ice crystals in clouds. Everyday use of the word "steam" or "vapor" often creates confusion.
Why aren't drops showing up in our baggie?
Conditions might not be right for visible condensation yet. Have an adult make sure it's properly sealed and check again at a different time. The absence of visible droplets doesn't mean no evaporation is occurring; do not apply heat.
Does water automatically become safe to drink through the water cycle?
No. Flowing, filtering through soil, or looking clear does not guarantee water is safe to drink. This activity is for observation only: do not drink the water from the experiment or water collected outside.