
Table of Contents
- 1. Set up a comfortable shadow corner
- 2. Identify the three setup elements
- 3. Make a shadow bigger without enlarging the object
- 4. Observe what different materials let through
- 5. Create a scene that poses a real challenge
- 6. Understand unexpected results in the real setup
- 7. Spot shadows during a walk
- 8. Revisit the setup with three questions
- Frequently asked questions
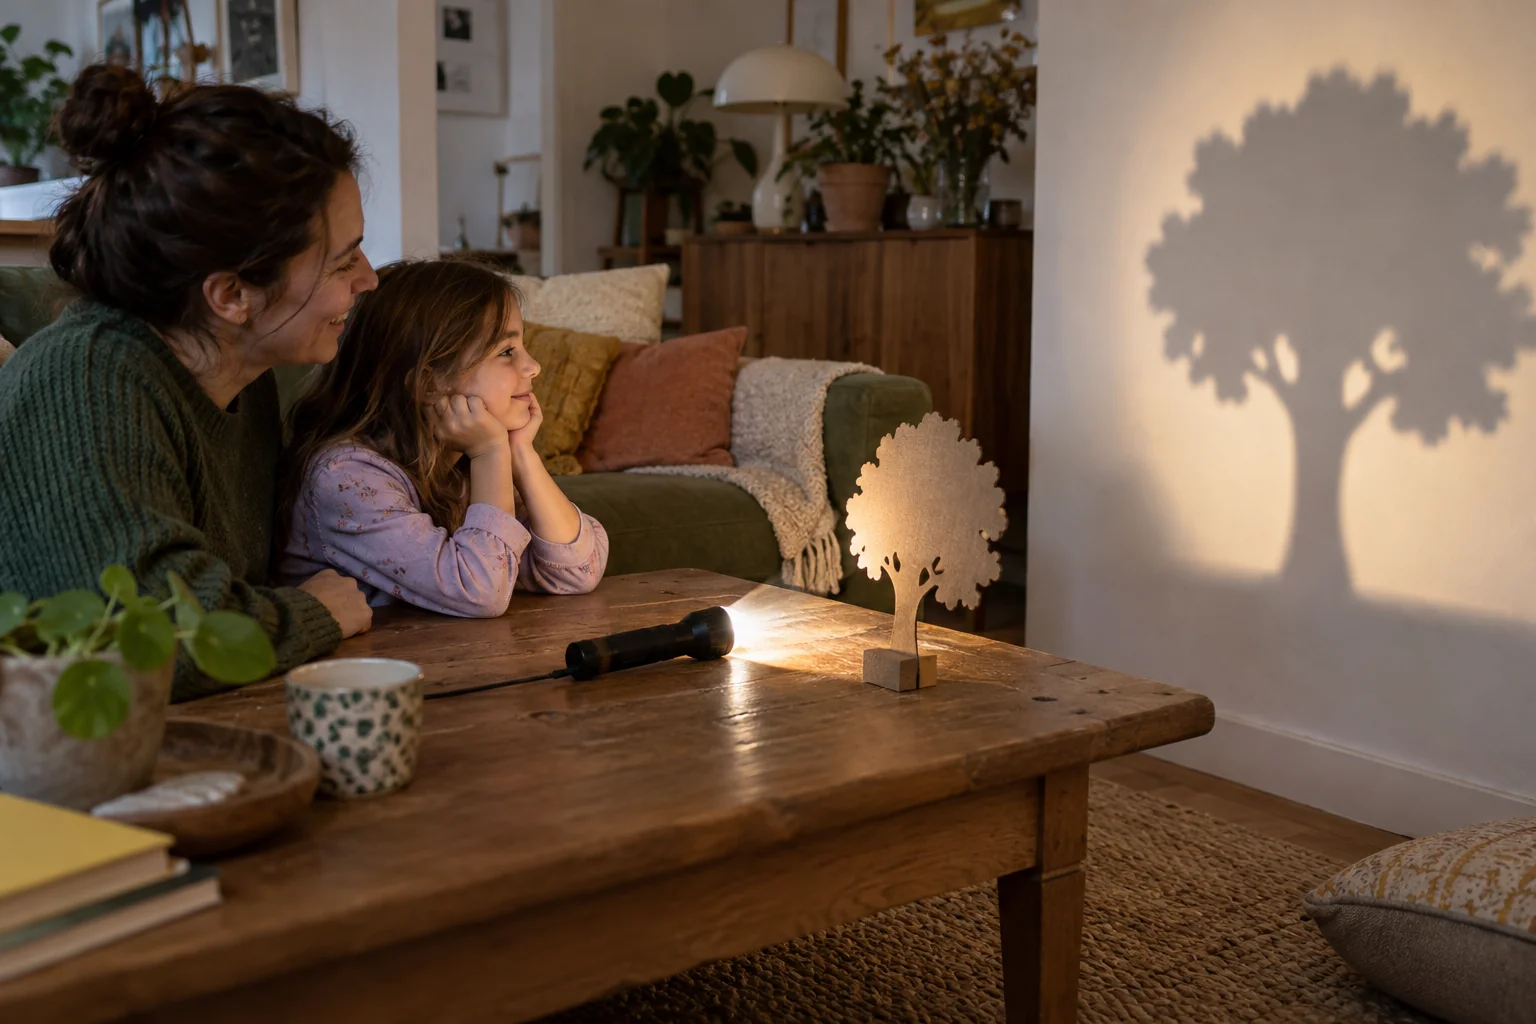
The cardboard fox fits right in one hand. On the wall, its ears become gigantic. Your child moves the cutout forward, pulls it back, and tries to catch its shadow. This little show already raises several scientific questions: what creates the dark area, where does it appear, and why does its size change?
An LED light, a cutout shape, and a light-colored surface are all you need to get started. The investigation can then continue outdoors. With 4 to 10-year-olds, take time to compare two situations before adding vocabulary: hands-on action gives real support to explanations.
1. Set up a comfortable shadow corner
Choose a clear, open wall or a large white sheet mounted vertically. Set up a stable LED lamp that stays cool during use, a cardboard cutout, and a holder to keep it steady. An adult should cut out any tricky shapes. Avoid fragile objects or cutouts with sharp points.
The room can be slightly dimmed; there is no need to stand in total darkness. Keep pathways clear and direct the lamp toward the screen, never toward eyes. Do not use lasers or hot lamps. The equipment fits on a table and packs away easily after the activity.
First ask: "Where do you want the character to appear?" Your child picks a spot on the screen. Together, you can check how to position the shadow there. If they are uneasy in the dark, leave the room lights on and move the setup closer to the white surface. The joy of exploring matters more than a dramatic shadow.
2. Identify the three setup elements
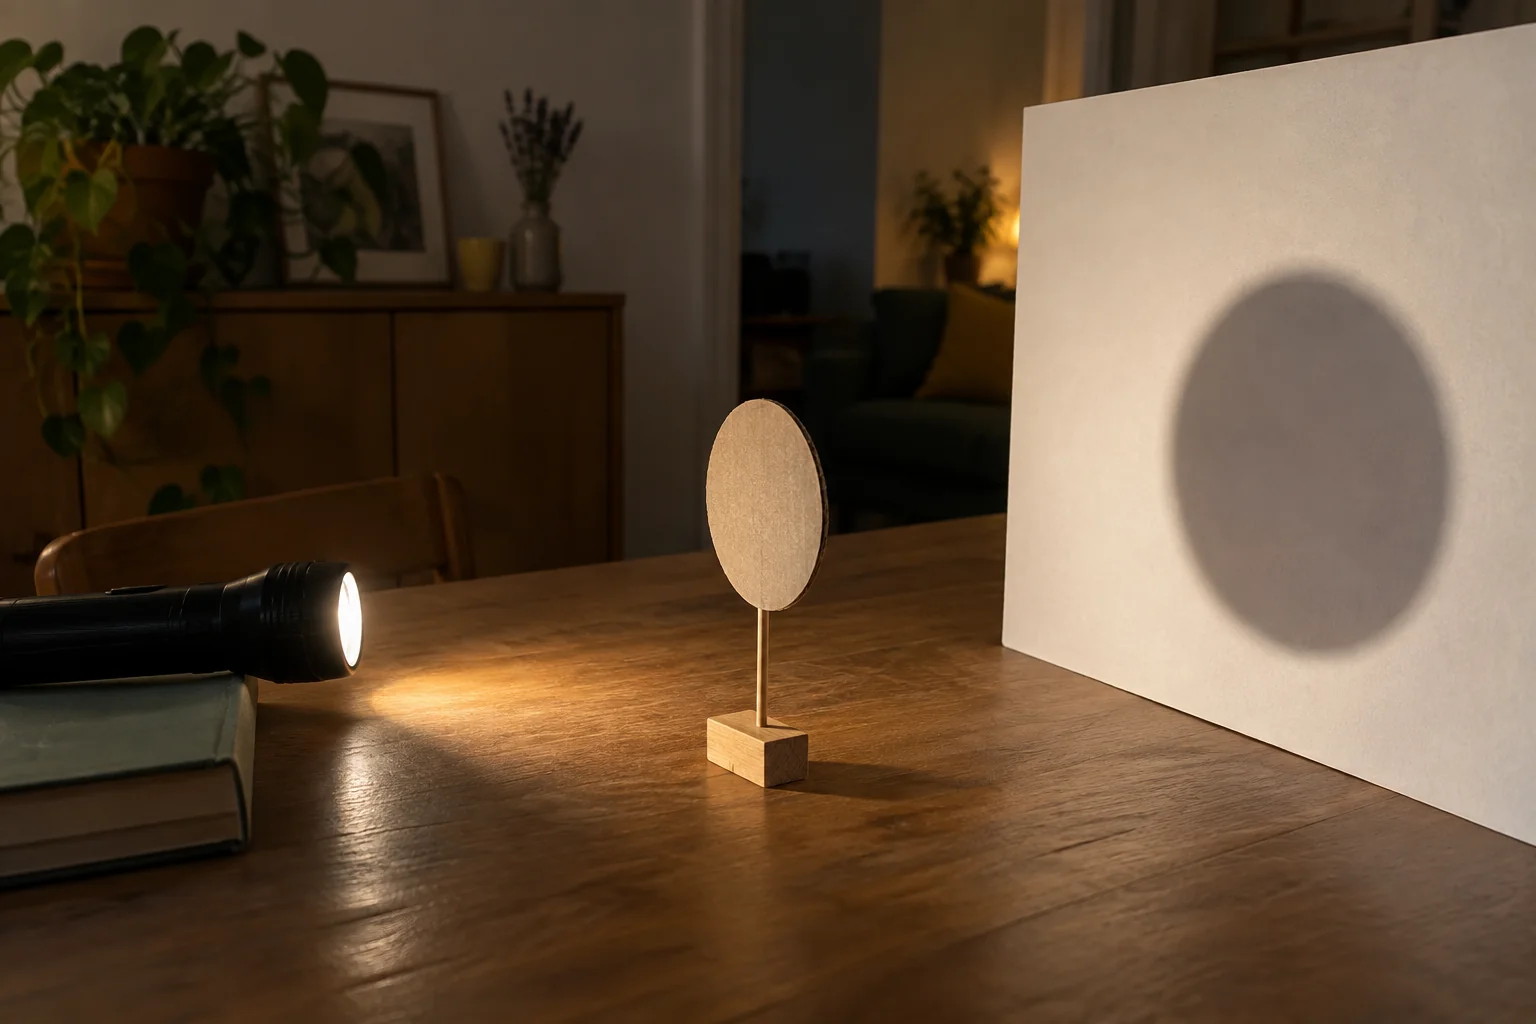
Turn on the lamp without any object in front: it illuminates an area on the screen. Then introduce the cardboard between the two. A darker area appears because the cardboard prevents part of that light from reaching the surface.
Have your child name each element while pointing to it: "the lamp that shines," "the cardboard that blocks the light," "the wall where we see the shadow." The Bergerac La main à la pâte resource center highlights this relationship between light source, opaque object, and surface.
Remove the cardboard, then place it back. Do not ask for a formal definition yet. For 4 to 6-year-olds, your child can simply describe the two situations. For 7 to 10-year-olds, suggest drawing a side-view diagram with all three elements and a few lines to represent light rays.
If the drawing forgets the lamp, simply ask: "What did you turn on first?" A shadow is neither a black substance coming out of the cardboard nor a second character attached to the wall.
3. Make a shadow bigger without enlarging the object
Mark the positions of both the lamp and the screen. They stay fixed. Move only the cutout between them, keeping its orientation unchanged. Bring it closer to the lamp: the projected shadow grows larger. Move it closer to the screen: it gets smaller.
Before each move, invite your child to predict: "Bigger, smaller, or the same?" Then test it. If they also change the cardboard's height, return to the start. That is not a mistake: you simply found another variable to control better.
The La main à la pâte Light and Shadow guide emphasizes keeping the light source stationary at first. To compare, trace two outlines on a piece of paper attached to the screen, without looking directly into the lamp.
Try the interactive lab
The lab uses a fixed point source, an object, and a fixed screen. This is a simplified model to study the effect of the object's position. It does not replicate all properties of a real lamp: multiple LEDs, an extended light source, or surrounding lights can create soft edges or multiple shadows.
4. Observe what different materials let through
Replace the cardboard with a piece of clear, clean plastic, then with tracing paper. An adult should choose materials large enough to handle easily. Keep the lamp and screen in the exact same positions.
With opaque cardboard, light does not pass through the material. Clear plastic allows light to pass through and lets you see through it distinctly. Translucent tracing paper lets light pass through but diffuses it: details seen through it become blurry. Thickness and material type matter, so not all plastics fall into the same category.
Observe the screen and the material without looking directly into the lamp. A clear object can still produce faint lines, reflections, or a faint shadow: "transparent" does not mean "completely invisible in this experiment."
The Ciclic lesson on light and shadow offers a great extension on objects and their projections. For your notebook, three labeled drawings are enough; there is no need to create a list of definitions to memorize.
5. Create a scene that poses a real challenge
Propose a short story: "The fox wants to look bigger than the tree, but both cardboard cutouts are nearly the same height." Your child figures out how to position the silhouettes. They can share their idea first and then test it out.
Add a second constraint: the fox's shadow must fit inside a house drawn on the screen. Should you move the character closer, further back, or turn it around? Change one variable at a time. Rotating a cutout also demonstrates that shadows depend on orientation: viewed edge-on, a silhouette can turn into a thin strip.
For ages 4–6, one challenge followed by free pretend play is enough. For ages 7–10, ask for a quick sketch of the working setup. Could someone else recreate it? That is a practical way to check if the explanation describes the positions clearly enough.
With siblings, take turns between moving the character and watching the screen. Our activities for different ages help share roles fairly so older kids do not make every decision. You can also find creative play ideas for crafting the scenery.
6. Understand unexpected results in the real setup
Is the shadow blurry? Check first if the object is far from the screen and whether the lamp contains multiple light points. Gently move the cutout closer to the screen and compare. Do not treat the clean diagram in the lab module as a photo of what must happen at home.
Does the shadow look gray instead of black? The room is likely getting light from other directions. A surface blocking direct light from your lamp can still be illuminated by ambient light.
Do two shadows appear? Check if a second light source is on. Turn it off, observe, and turn it back on. Explain clearly: "In this setup, that change altered the shadows." You can search for a cause without turning every unexpected result into a full optics lesson.
If your child says the cardboard object grew, place it onto its original outline drawn before the experiment. The object itself did not change size. This quick physical check is much more convincing than repeating explanations.
7. Spot shadows during a walk
Outdoors, spot the shadow of a tree, a post, or a fence. Ask which direction the light comes from without looking at the Sun: never look directly at it. Choose a safe location, away from traffic.
To compare different times of day, choose a stationary object and return to the exact same spot. Chalk lets you trace the end of its shadow where permitted. Note the time and avoid moving the object.
The Sun's apparent position shifts across our sky, so shadow angles and lengths change over time. Over a single day, this change is mainly caused by the Earth rotating on its axis. The Le Soleil et nous unit clearly separates this daily movement from the Earth's orbit around the Sun.
An overcast sky can make outlines faint. Record that observation as it is rather than drawing an imaginary shadow. Extend the outing with a nature observation walk or, on another evening, explore stargazing with kids.
8. Revisit the setup with three questions
The quiz offers three situations to practice connections between light, materials, and positions. Let your child explain their choice before reading the feedback.
If in doubt, replay the situation with the flashlight. "Show me how you would check" invites exploration; "you should know this" shuts down the conversation.
End with a small role reversal: your child places a silhouette and asks you to make a bigger shadow. Follow their instructions to the letter. If they forget to fix the flashlight, they can refine their explanation. For a future session, home science experiments offer other questions to explore hands-on.
Frequently asked questions
Do you need a completely dark room?
No. A slightly darkened corner and a light surface are often enough. Keep enough light to move around and handle things comfortably; adapt the setup to your child's sensitivity.
Why does the shadow get larger near the lamp?
With a small, fixed light source and screen, an object close to the source blocks a beam that occupies a larger area on the screen. The hands-on activity illustrates this geometry in a simplified way.
Does a transparent object always make every shadow disappear?
No. It can absorb, deflect, or reflect part of the light. The faint outlines observed depend on the material, its shape, and the setup; compare it with cardboard without promising complete disappearance.
Why does my shadow change throughout the day?
Light from the Sun arrives from a direction that changes in our sky. Therefore, the shadow changes direction and length. Earth's daily rotation explains this apparent motion.