
Table of Contents
- 1. Look at the seed before preparing the pot
- 2. Understand the start without confusing the whole life of the plant
- 3. Set up a bean observation station
- 4. Explore the stages, then find the details in your own pot
- 5. Prepare a comparison with two pots
- 6. Keep a journal that accepts “nothing new”
- 7. Interpret differences without forcing a conclusion
- 8. Care for the young plant after observation
- Frequently asked questions
A dry bean seems quite still. Yet, under the right conditions, a tiny root can sprout from it. For a child, this transformation becomes fascinating when they can look closely, return the next day, and compare with their first drawing.
Pick a simple question and let your observations guide what comes next. Here is a workshop to try with kids aged 4–10, with no set deadline for success and no competition between pots.
1. Look at the seed before preparing the pot
Place a few dry, untreated bean seeds on a plate. Choose untreated seeds intended for planting, selected by an adult, or whole culinary dry beans. The seeds used for this activity will not be eaten afterward. Do not use seeds collected from unknown plants.
Invite your child to describe what they see: an outer coat, a curved shape, a tiny mark. “What do you think might come out of there?” Save their answer in the journal without immediately asking for the names of the parts. The initial drawing will serve as a point of comparison.
For ages 4–6, ask them to point out the seed that looks the biggest. For ages 7–10, ask how to identify that exact same bean in future photos. This extends the observation games during nature walks.
2. Understand the start without confusing the whole life of the plant
The seed contains an embryo and food reserves. In beans, these reserves are located mainly in the cotyledons, the two thick parts you can sometimes see after the outer coat opens. They power the first stages of growth: the seed isn't waiting to “eat the cotton.”
Absorbing water makes the seed swell. This swelling doesn't prove yet that it will germinate: a seed that is no longer viable can also absorb water. Next, look out for the radicle, the tiny primary root. Strictly speaking, its appearance marks the end of germination; subsequent changes belong to seedling development. The scientific explanation from La main à la pâte clarifies this distinction.
For a younger child, say: “The little plant is starting to come out of the seed.” With an older child, distinguish between the observation “I see a white tip” and the interpretation “it's the first root.”
3. Set up a bean observation station
Gather an unbreakable clear cup or jar, cotton balls, water, a spoon, a label, and a few beans from the same batch. Adult supervision is required: even though they are fairly large, seeds remain small objects that should not be put in mouths. Wash hands after the activity.
Moisten the cotton and drain any excess water. Place it in the container and position the beans against the side so you can observe them without disturbing them. They should touch the damp cotton without sitting in standing water. Keep the container open on a stable tray, away from radiators and direct, hot sunlight behind window glass.
Moisture does not replace air. A waterlogged environment can lack oxygen and encourage mold, as explained in the resource on seeds and air. So do not seal the container airtight.
Jot down the date and draw the pot. Check regularly that the cotton stays damp; add a little water if needed, without following a rigid watering schedule. Needs depend on the setup.
4. Explore the stages, then find the details in your own pot
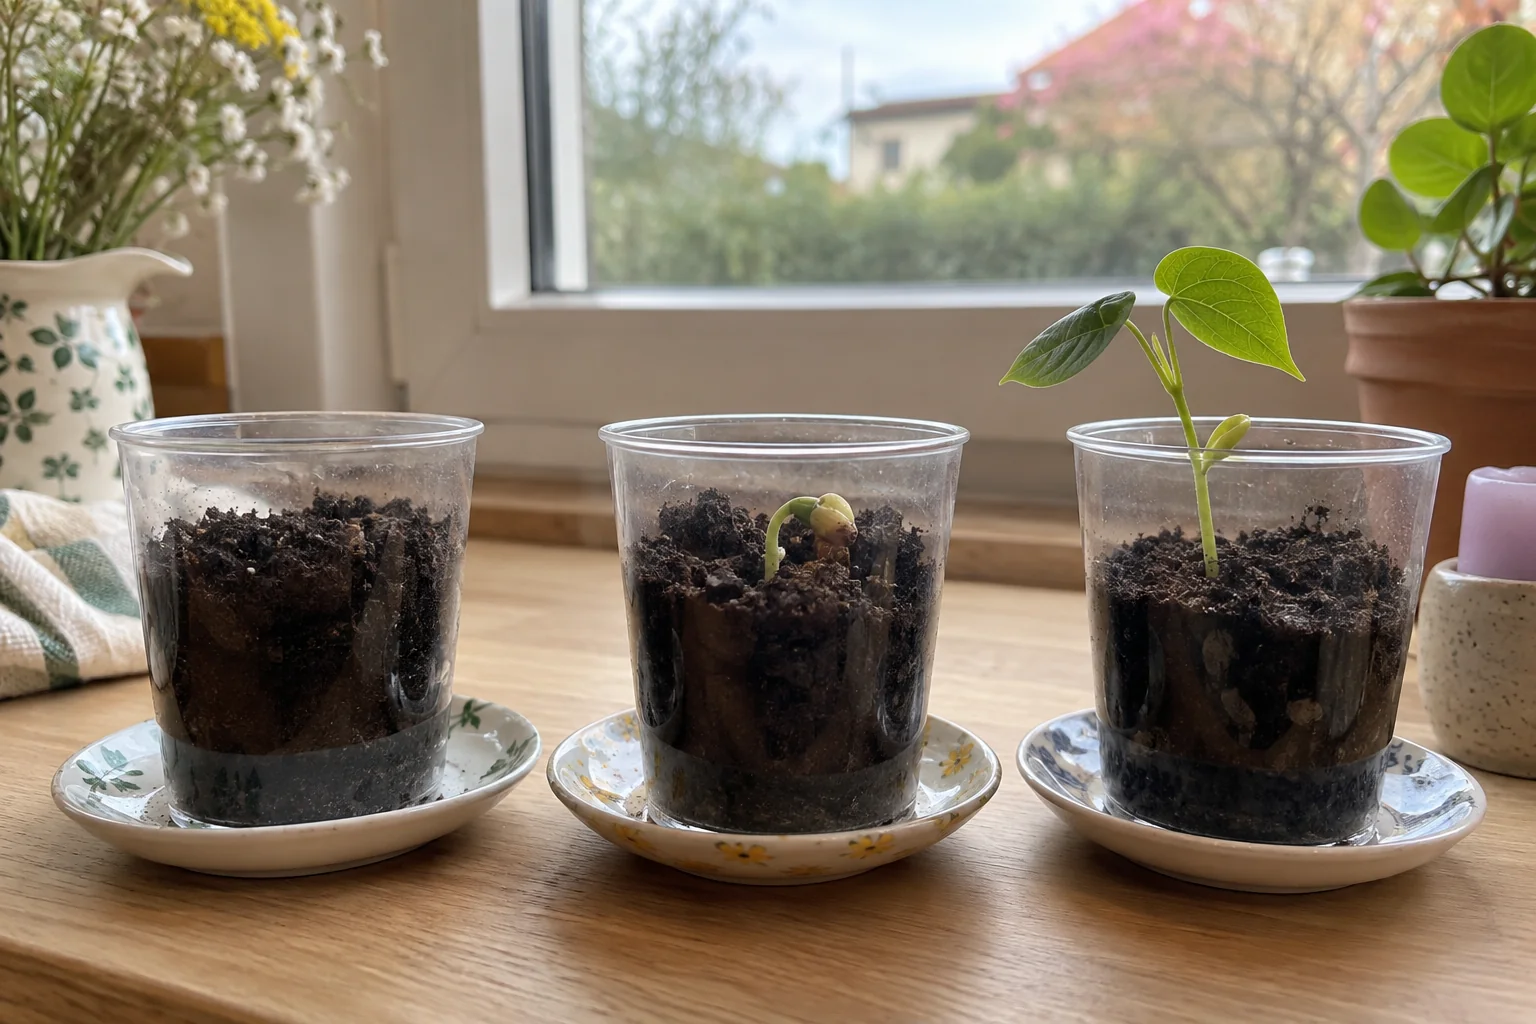
Use the interactive viewer to go from seed to swelling, then to radicle, stem, and first leaves. Each click changes the stage shown; it does not advance a biological clock.
Before clicking, ask: “What detail are we looking for?” Afterward, go back to your real pot. Your child might point out a split coat or a growing root, even if their bean doesn't look identical to the drawing.
This series offers a simplified overview. Several changes may overlap, and two neighboring seeds won't necessarily progress at the same speed. Don't pull on a root to see it better, and don't reposition the seed in the exact same spot every day just for a photo.
For ages 4–6, stick to three key words: seed, root, leaves. For ages 7–10, add a label to the drawing and ask them to specify what is new. The viewer serves as a guide; the journal records what is actually happening.
5. Prepare a comparison with two pots
The question “What does a seed need?” is too broad for a single test. Instead, ask: “Do we see the same thing with dry cotton and damp cotton?” Prepare two similar pots with the same number of beans from the same batch, the same material, and the same spot. Change only the water.
This approach matches the lesson plan on seed needs. It helps attribute any observed difference to the single factor tested with greater care.
The planner offers options for water, light, or temperature. It sets up the conditions to compare and those to keep identical; it does not predict the result. Write down your choice on paper before setting up the pots.
To explore light, keep moisture levels comparable and temperature similar. A ventilated opaque cover is better than two very different rooms; lift it briefly to observe. For temperature, choose two moderately different locations with an adult and check that light and moisture remain comparable. No oven, freezer, or direct heater is required.
If these conditions are hard to control, choose water to begin with.
6. Keep a journal that accepts “nothing new”
Divide a page into “date,” “what I see,” and “what we did.” An observation could be: “Coat cracked open in pot A; no visible root in pot B.” Include details like added water, accidental bumps, or finding dry cotton.
Plan a brief daily check-in at a convenient time for your family. Your child can draw, dictate, or write. Take photos if you wish, keeping a similar angle without removing the seeds.
Here is a simple routine: look at the previous drawing, inspect one pot, name a change, check the second pot, then put things away. If nothing seems different, write that down. Don't make up changes just to fill the page.
In a sibling group, the youngest child can describe a color while the older child dates the drawing; then swap roles. Our activities for children of different ages offer other ways to share a task. Entrusting the label or notebook can also leave room for independence, with the adult responsible for setup.
7. Interpreting differences without forcing a conclusion
A bean is not germinating? Check the cotton, ventilation, and location. The seed may no longer be viable or the conditions may not suit it. An absence of change does not allow you to conclude that all seeds of the same type are incapable of germinating.
If pot A contains several germinations and pot B contains none, first describe that exact result. Then return to the setup protocol: were the seeds comparable? Was one pot moved? Having only one seed per condition makes the conclusion particularly fragile.
The family activity proposal from La main à la pâte invites you to discuss trials and their observations. You can start over by correcting an identified problem, without presenting the first trial as a failure on the child's part.
If mold appears, the adult removes the affected material and cleans the pot. Do not sniff closely and do not consume anything. To switch investigations, choose another science experiment at home next.
8. Caring for the young plant after observation
Cotton is mainly used to see the beginning. If the seedling develops, gently transfer it into a suitable pot with potting soil, perforated to allow excess water to drain. The adult handles the seedling, avoiding pulling on its roots. Place it in the light, adjusting watering to the soil.
A bean can germinate in the dark using its stored energy. A pale shoot stretching out in a closet, however, is not proof that the plant can normally continue its life there. The resource on plants grown in the dark explains why light becomes essential for green plants to produce new material.
Then connect the pot to a broader question: where does available water for outdoor plants come from? The water cycle explained to children offers an extension. Keep the last drawing, even if your plant does not reach flowering.
Frequently asked questions
How long does it take to germinate a bean?
There is no guaranteed timeframe for your setup. The seed, its condition, and the environment all play a role. Note the start date and observe regularly without predicting a specific day for the first root.
Do you need soil for a seed to germinate?
A bean can start on a moist medium without soil. Cotton makes observation easier, but it does not permanently replace a suitable environment for plant growth.
Do all seeds germinate in the dark?
No, requirements vary depending on the species. The bean allows you to study germination without light; avoid turning this observation into a rule for all seeds.
Can you eat the beans from the experiment?
No. Keep these seeds strictly for observation and do not eat the beans or their shoots. Choose untreated seeds, keep them supervised, and wash hands after handling.