
Table of Contents
- 1. Recognize the seven pieces before trying a template
- 2. Prepare materials that remain easy to handle
- 3. Pick a challenge based on what your child can already do
- 4. Move from visible piece outlines to silhouettes alone
- 5. Rotate or flip: unlocking the tilted piece
- 6. Help without taking over all the pieces
- 7. Build a short routine, then vary the activities
- 8. See how the tangram square is built
- Frequently asked questions
- Is matching area enough to validate a silhouette?
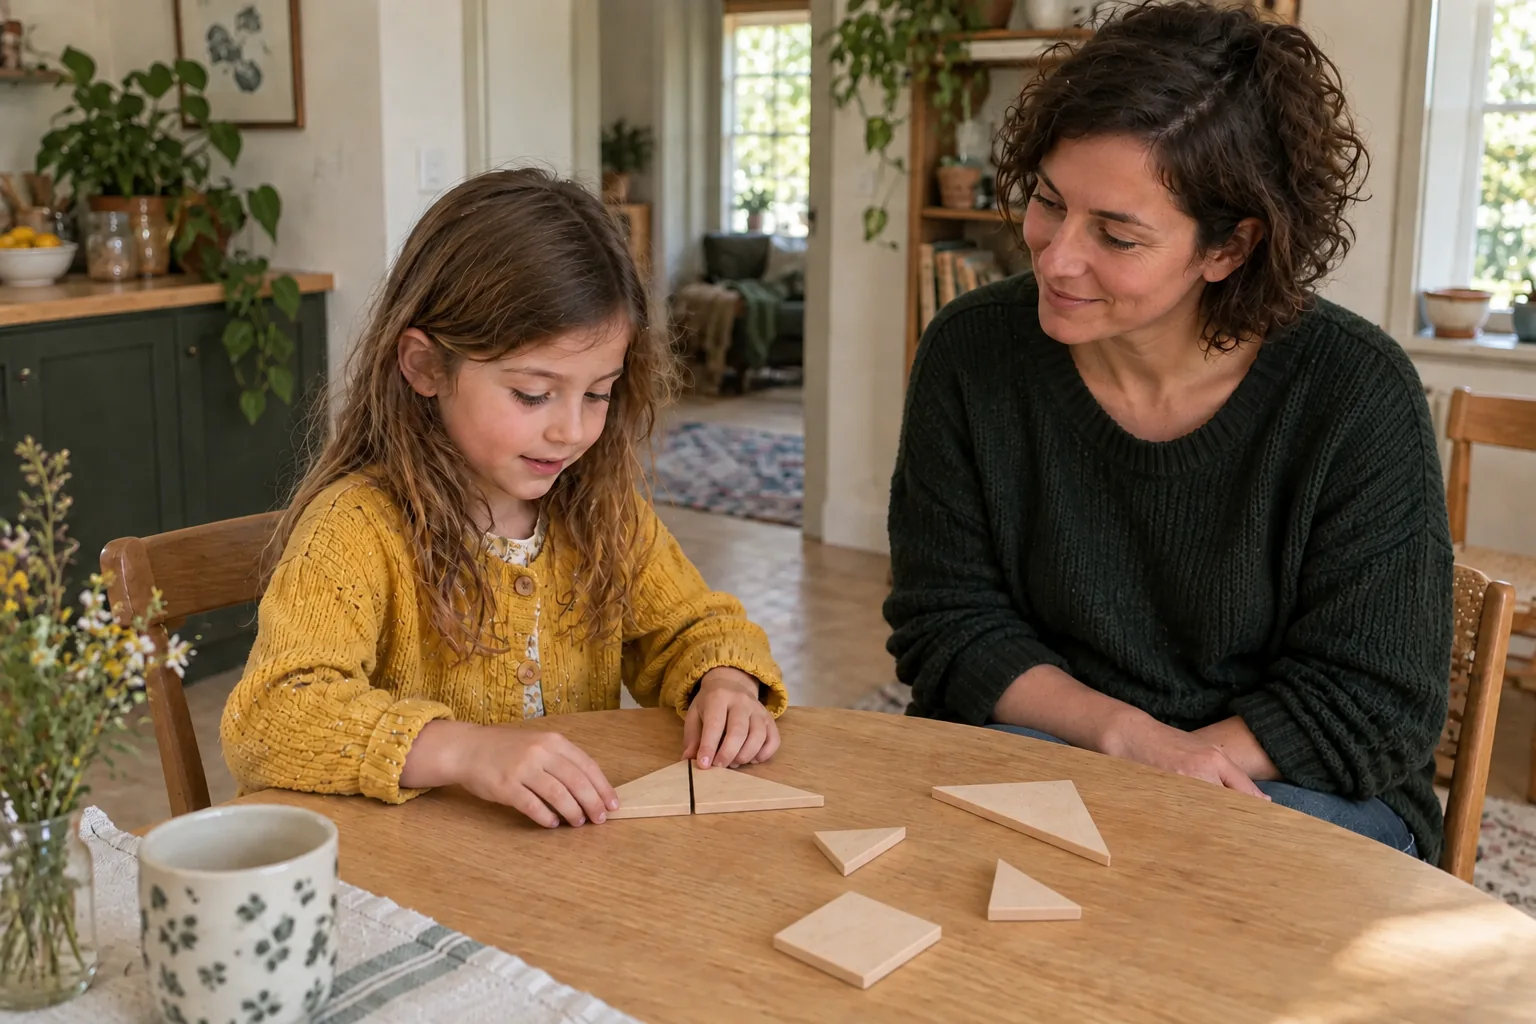
To introduce tangrams to a child, set out the seven pieces, choose a template with visible dividing lines, and let them move the shapes themselves. Afterward, they can try a silhouette without lines, using a hint if needed. The best starting point depends more on their comfort with puzzles than on the age printed on the box.
This game fits in a small pouch, but a cute silhouette doesn't always mean an easy challenge. A cat shape might hide tricky placements, whereas two triangles forming a square often provide a better first success. Here is how to set up a calm activity space, identify the pieces, and guide their attempts from preschool through early elementary school.
1. Recognize the seven pieces before trying a template
The tangram originates from a square divided into seven shapes. You will find two identical large triangles, one medium triangle, two identical small triangles, one square, and one parallelogram. The triangles all have a right angle and two equal sides. In your activity, the words "large," "medium," and "small" serve to compare the triangles with each other, not to label the child or rate the difficulty.
Spread out the pieces and ask, "Which ones could be twins?" Your child can place two triangles side by side or temporarily stack one on top of the other to compare their sizes. Stacking is helpful for observing; it will simply be off-limits when filling a silhouette. A rule explained in context is much easier to grasp than a long list of prohibitions.
A square remains a square even when rotated onto its corner. The parallelogram, on the other hand, looks like a tilted rectangle: its opposite sides are parallel, but its angles are not right angles. Avoid calling every slanted piece a "rhombus." You can say "the tilted piece" first, then introduce its official name as you play.
Try together
Map of the seven pieces
Choose a label to help locate each piece in the square.
All pieces are visible.
Read the labels for all pieces
- Large triangle 1: A large triangle. Here, it forms the top edge.
- Large triangle 2: Its twin: same shape and size, even if the color is different.
- Medium triangle: The middle-sized triangle, placed here in the bottom right.
- Small triangle 1: A small triangle. Look for its twin in the set.
- Square: Four equal sides and four right angles, even resting on a point.
- Small triangle 2: The second small triangle, same size as the first.
- Parallelogram: The tilted piece: its opposite sides are parallel.
There is no need to make kids recite this vocabulary before playing. "The small triangle near you" is usually enough to communicate effectively. Precise terms naturally support an action that is already understood. To extend this exploration of shapes, the guide on 3D geometric shapes clarifies the difference between 3D solids and flat figures: a puzzle piece is a thin object whose flat face we are looking at.
2. Prepare materials that remain easy to handle
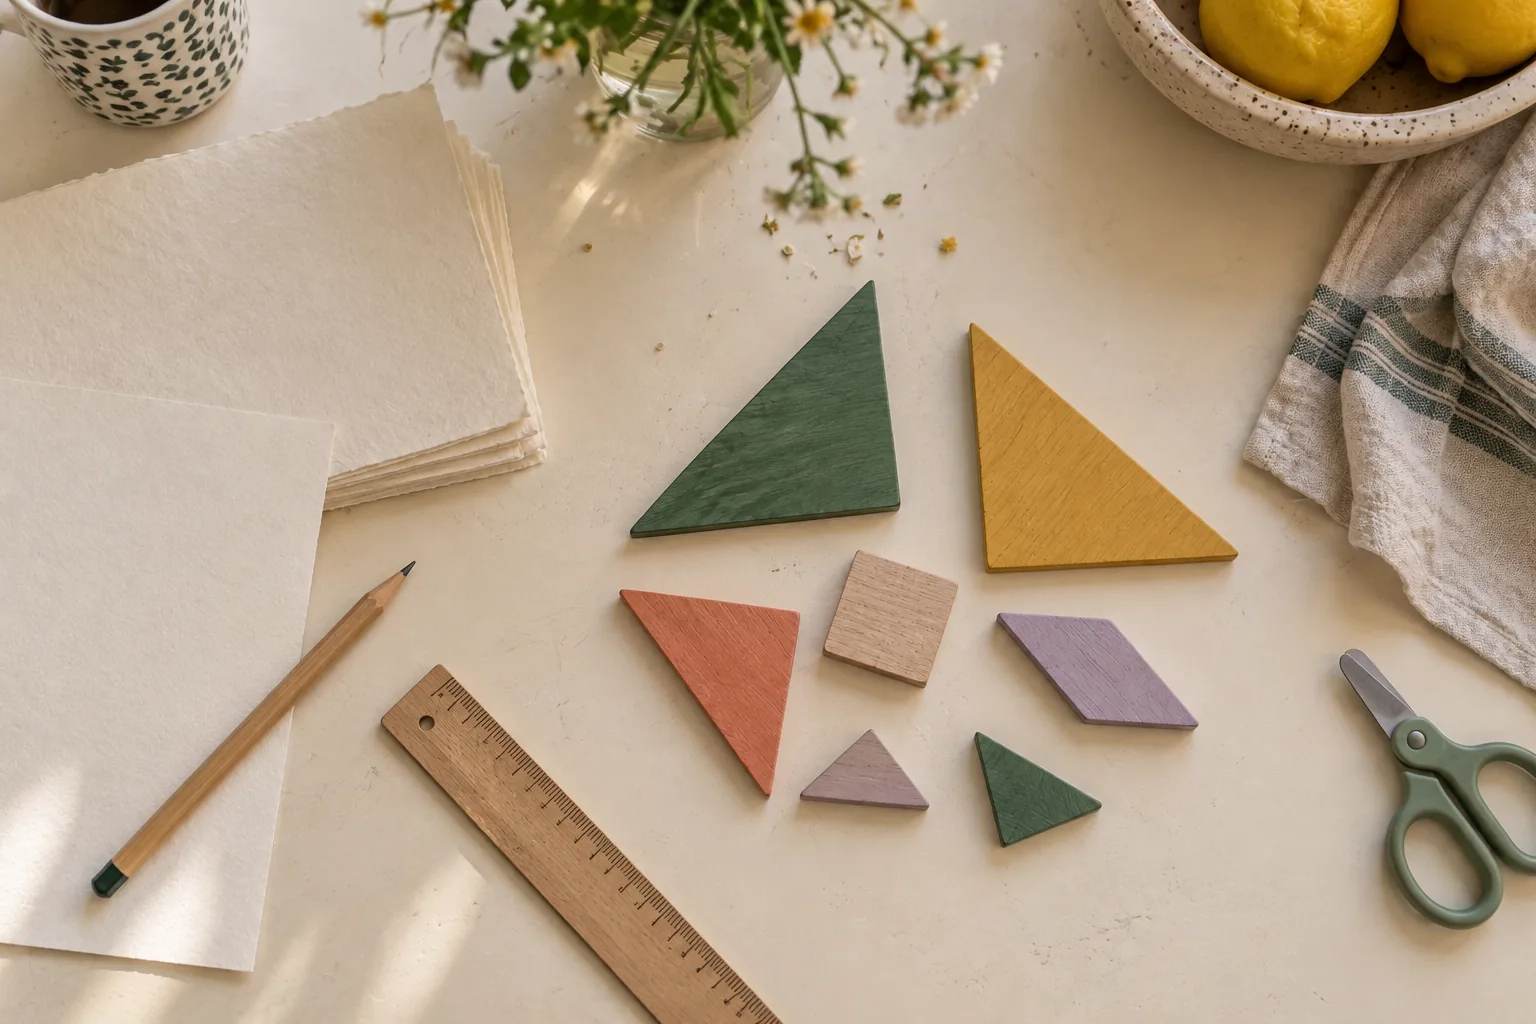
Pick pieces that are large enough to grab and flip over easily. A wooden or thick cardboard set works wonderfully; very thin paper tends to crease and slide around too much. Keep a clear workspace, with only one complete set and one template in view. Mixing two sets creates unnecessary confusion: the piece sizes might differ slightly, even when the colors look similar.
If using a printed template, check the scale before asking your child to place the pieces directly on top. The outline must be the exact same size as the pieces for this overlay activity. If it's not, place the card alongside: your child can replicate the figure on the table. Both formats are valuable, but the second one requires translating positions visually.
If you are making the pieces yourself, start with a true tangram template and keep all original proportions intact. Cutting seven shapes at random won't guarantee they can form a square. An adult should handle the cutting, especially with thick cardboard. Kids can safely use safety scissors under supervision; keep small pieces stored away from young children who still put objects in their mouths.
When working with a group, assign a pouch to each set and recount the seven pieces at the end of the activity. If two children share the same set, frame it as a collaborative team effort rather than an impossible race. One child can pick a piece while the other describes the target outline, then swap roles. This gentle structure ensures every child gets time to think.
3. Pick a challenge based on what your child can already do
Around ages 4–6, a great starting point is comparing shapes, putting two triangles together, and following visible grid lines. These are suggested ideas, not strict milestones for a specific birthday. An older child discovering tangrams for the first time may benefit from these same initial steps, while a younger child who is already handy with puzzles might want a bigger challenge.
Around ages 7–10, you can gradually remove helper lines, show a solid silhouette, or ask your child to explain why a piece goes there. The difficulty also increases when the pattern card is small, when the figure is rotated, or when multiple identical pieces seem like they could fit. Adjust just one of these variables at a time to figure out what truly helps.
In its preschool math resources, the French Ministry of Education highlights an approach connecting hands-on manipulation, verbal expression, and visual representation. At home, this translates very simply: try placing the pieces, describe what changed, and then look back at the template. This approach doesn't mean tangrams replace classroom instruction, nor that a set amount of playtime yields a measurable result.
Try together
Which starting point should you choose?
Select the scenario that best matches where your child is right now.
- Discover
- Compare the two small triangles, then combine them to make a square.
- Replicate
- Keep all seven internal lines visible and let your child place the pieces.
- Solve
- Show the silhouette alone. Keep a hint and the full solution nearby.
Above all, observe how your child responds to the challenge. If they move all the pieces around frantically without looking at the outline, reveal a clear reference point. If they hesitate to touch anything for fear of making a mistake, try placing a single piece together. If they succeed and want to explain how, let them take the lead while you follow their instructions. Today's goal might simply be trying with confidence, even without completing the silhouette.
4. Move from visible piece outlines to silhouettes alone
Our activity starts with a warm-up using two small triangles, followed by the classic seven-piece square. The first challenge is intentionally simplified: set the other five pieces aside. The second challenge uses the full tangram rules. Clearly stating the expectation prevents a child from trying to cram seven pieces into a small target designed for just two.
Start with colors and visual boundaries. Your child can select a piece, find the spot that matches its shape, and check its orientation. Next, offer just the outline, while keeping the answer key accessible. A good hint encourages problem-solving: it might show where the two large triangles meet without revealing the rest of the puzzle.
Try together
Three steps, one help level at a time
1 · Two triangles
Use only the two small triangles. Set the other five aside.
A hint
Two long sides join together; the outline forms a square resting on a corner.
View the solution and its rules
The pieces touch edge to edge without overlapping.
2 · Seven guided pieces
Use all seven pieces. Follow the internal lines of the template.
A hint
Start with the two large triangles, then look at the remaining space.
View the solution and its rules
The pieces touch edge to edge without overlapping.
3 · Silhouette alone
Use all seven pieces to fill this square without any overlapping.
A hint
The two large triangles touch along one edge, taking up half of the square.
View the solution and its rules
The pieces touch edge to edge without overlapping.
When problem-solving, look at the outer border first. A long straight edge might be formed by several smaller sides lined up together. A pointed tip isn't always a small isolated triangle. Encourage testing ideas: "If this big triangle goes here, will there be enough room left for the rest?" Your child can test it out, then move the piece if it leaves a gap that won't fit the remaining shapes.
Two pieces of the exact same size can swap spots. Because of this, a solution isn't always unique in terms of color arrangement, even when the geometric borders are identical. Focus on checking the overall shape, the piece count, and the absence of overlaps rather than exact color matching. If you use a physical set, its triangle colors might differ from the diagrams.
Before moving on to a complex animal shape, try building the square again after scrambling the pieces. The first attempt might rely on memory; repeating it encourages understanding spatial relationships. There's no need to use a timer. If your child wants a quicker win, the two-triangle mini-square remains a meaningful activity with its own clear instructions.
5. Rotate or flip: unlocking the tilted piece
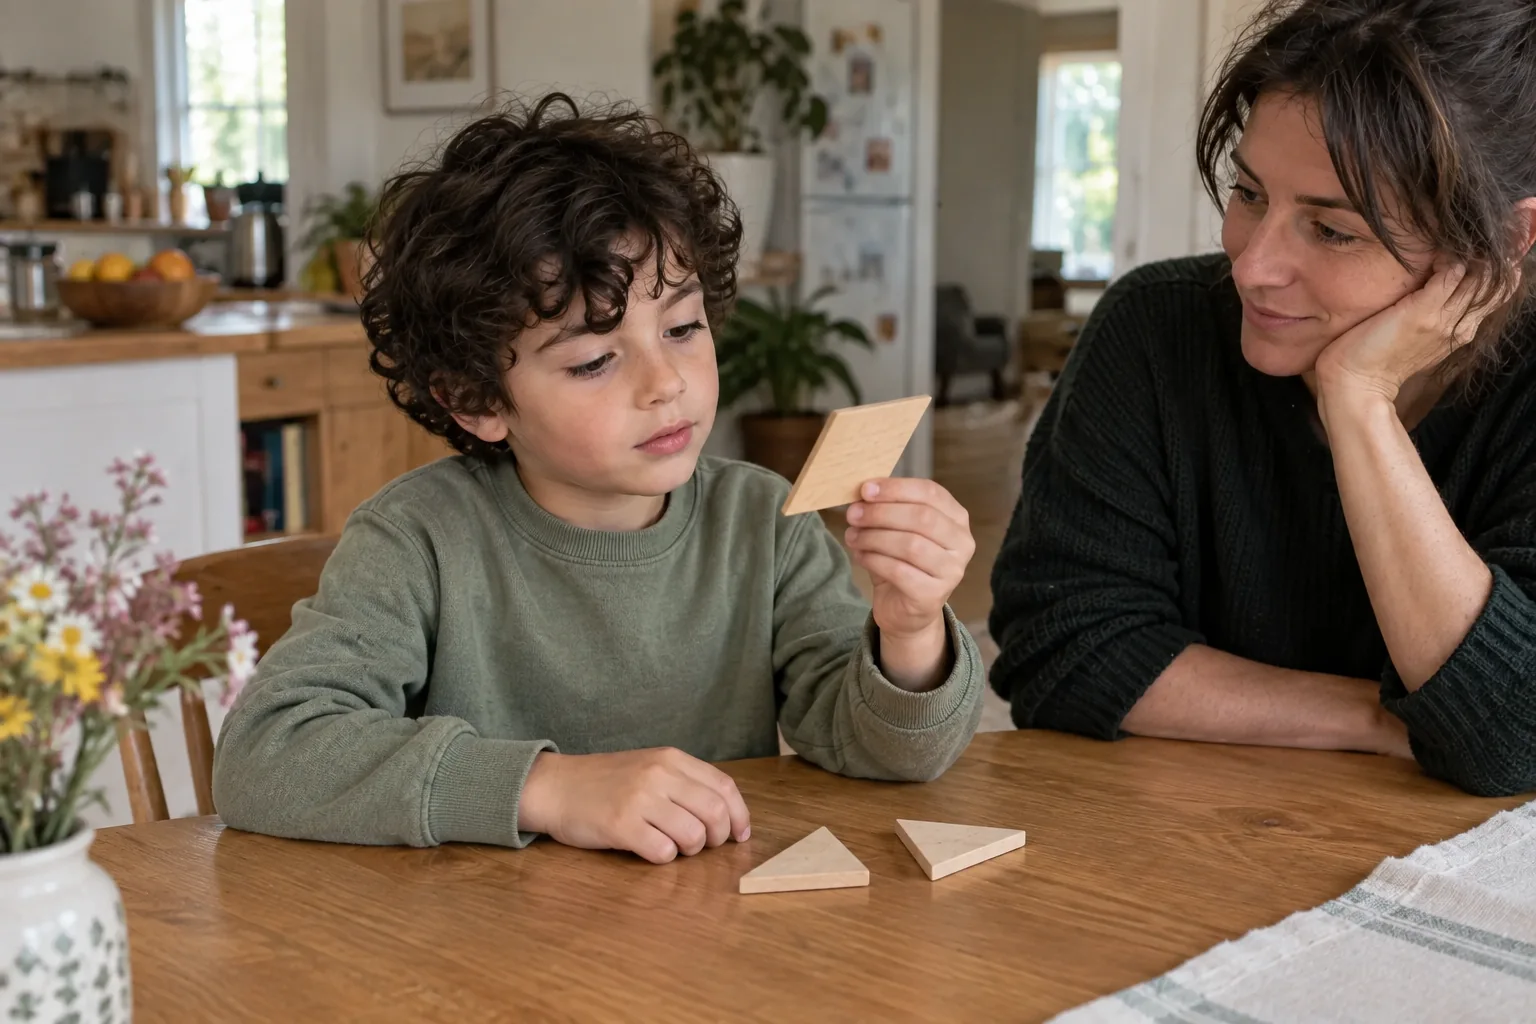
A child might identify the correct piece while holding it the wrong way. Rotating means spinning the piece flat on the table: it stays face up. Flipping means picking it up and turning it over like a pancake to reveal its back. With the parallelogram, understanding this distinction can unlock a spot that seemed impossible.
Start with just a single piece. Rotate it a quarter turn and ask what changes: its orientation changed, but its sides remained the exact same length. Next, flip it over. If using a paper set colored on only one side, the back might be blank; that doesn't make flipping illegal. If both sides are intended to be used, explain that right from the start.
Try together
The tilted piece lab
The dot acts as a marker to track the movement.
Starting position: 0°, initial face.
Try these movements with a real piece
- Rotate the piece a quarter turn flat on the table: it remains face up.
- Lift it up, flip it over, and place it back down: the other side is now facing up.
- Compare its sides to the template border before choosing your next move.
If your child enjoys this step, you can later compare a shape with its mirror image. Our guide on symmetry for kids expands on this with dedicated activities. For now, stay focused on the practical action: choosing a piece, rotating or flipping it, and aligning its edge with the template.
6. Help without taking over all the pieces
When a puzzle gets stuck, it is tempting to jump in and quickly move three pieces yourself. The square gets solved, but your child loses the satisfaction of finding the answer. Instead, ask first: "Would you like a hint, should we try one piece together, or do you want to take a break?" This simple option delivers just the right amount of help without turning into a heavy lecture on perseverance.
An effective hint focuses on a single action: looking at an angle, comparing two sides, or placing the large triangles before the small pieces. Avoid stringing together multiple instructions in the same sentence. If the child follows a hint but does not yet understand why it works, give them time to observe the new space rather than commenting immediately on what comes next.
You can also describe what you see: "You turned the triangle, and now its side follows the edge." This remark focuses on a specific action. It provides more information than a general judgment about intelligence or a promise of becoming excellent at math. Unsuccessful attempts can remain ordinary: this spot isn't right, so we look for another one.
An unfinished figure is not a failure that must be fixed before leaving the table. Keep the arrangement if possible, or quickly trace the outline to pick it up later. If emotions take over, stop the puzzle. A more familiar game or free play can step back in, and then the tangram will return another day with more reference points.
7. Build a simple routine, then vary it
For a first session, choose a modest goal: recognize the two small triangles, try a square, then put the pieces away. You can offer five to ten minutes as a practical starting point, letting the child stop earlier or keep going if they want. This baseline organizes family time; it is not a mandatory educational duration.
Keep a helpful record rather than a score sheet. On a card, note the challenge attempted and the help used: "square with guidelines," "outline alone with a large triangle placed," or "I remembered to flip the piece." During the next session, this note will help find an accessible starting point without forcing the hardest level.
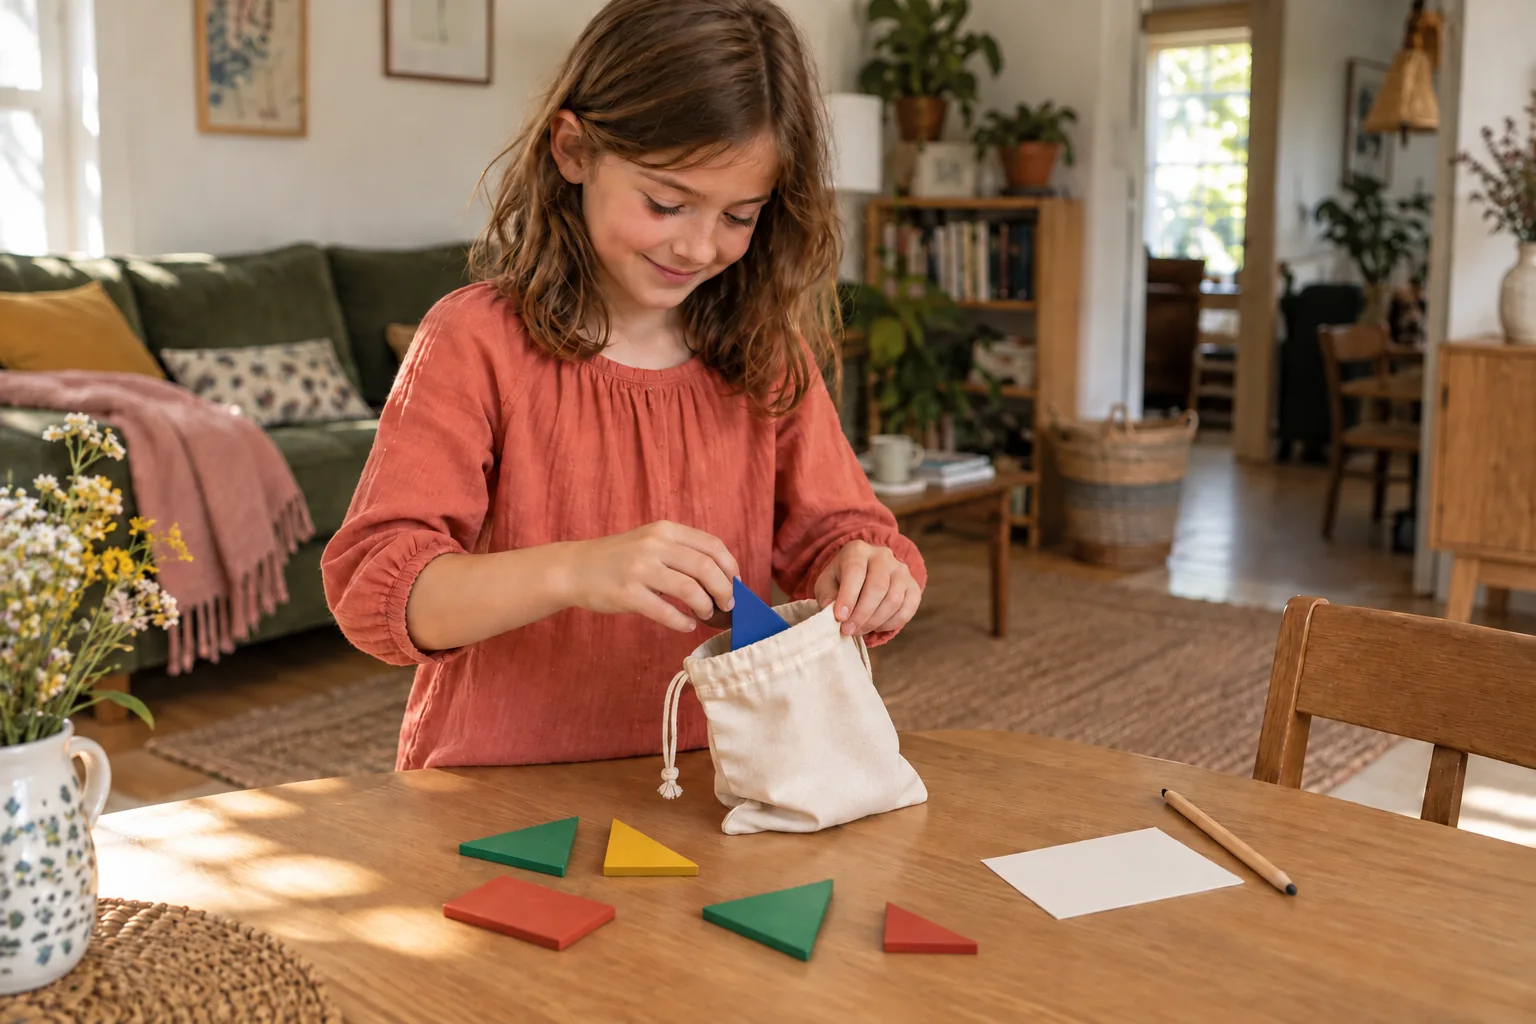
Then vary the way you play. The child can invent a shape and give it a name, build a pattern for you, or describe a placement without showing it. For a free invention, state whether all seven pieces must be used or only the ones they choose. A figure with empty spaces can be a creative choice; it simply shouldn't be presented as the solution to a solid outline.
Primàbord offers shape challenges with several levels for preschool. NRICH, the University of Cambridge project, also explores tangram arrangements designed for ages 5–11. These resources illustrate the range of possible exploration beyond a collection of animals to copy. Our workshops above remain suggestions for playing at home, with models built for this guide.
To alternate formats, logic riddles for kids offer another type of challenge. A tangram asks you to arrange shapes; a riddle might ask you to listen to a rule or eliminate a possibility. Choose what fits the moment, without turning every pastime into a school exercise.
8. See how the tangram square is constructed
This video from Pédagogie de l’école Primaire demonstrates constructing a tangram using a ruler, set square, and compass. It is geared toward adults or children who are already comfortable with these tools. For a first session with a young child, prepare the pieces ahead of time; they can watch a short clip with you without having to do the whole drawing themselves.
Is matching area enough to validate a silhouette?
Two arrangements of the same pieces have the same total area when the pieces do not overlap. Their outlines can still differ. Matching a model also requires filling its silhouette without gaps or protruding pieces and using the intended set.
| Check | Question to ask |
|---|---|
| Pieces | Are all seven specified pieces present? |
| Overlaps | Does one piece cover another? |
| Gaps | Is there a hole inside the silhouette? |
| Outline | Do the edges match the whole silhouette? |
Check those conditions separately. Counting pieces reveals an omitted piece, but not a small overlap. Looking only at the outside edge can miss a hole within the arrangement. With a correctly scaled model, follow the boundary and inspect the joins instead of declaring success from area alone. The open and closed line activity helps children inspect an outline but does not replace checking the whole arrangement.
Frequently asked questions
At what age can children start playing tangram?
Starting in preschool, children can explore large pieces with an adult, compare shapes, and follow a model with visible guidelines. Completing the puzzle without hints can wait. Ages 4–6 and 7–10 are general guidelines for selecting activities, not strict milestones.
Do you always have to use all seven pieces?
Yes, for a shape presented as a complete traditional tangram, with no overlapping. For a warm-up activity with two triangles or a free creation, fewer pieces can be used: simply state this alternative rule clearly.
Can you flip the parallelogram over?
Yes, when the game allows using both sides. Rotating a piece on the table does not produce the same result as flipping it over. With single-sided printed paper, the back might be white; explain to the child that it can still be used.
How can I print a pattern at the right size?
If the child places the pieces directly on the drawing, print the template and the pattern at the same scale, without applying different fit settings. Check with a piece before starting. If the sizes do not match, keep the pattern alongside and build the shape on the table.
What should I do if my child can't finish?
Offer a single hint, make the borders visible, or return to a shorter assembly. You can also pause and try again later. A tangram measures neither a child's intelligence nor their school performance.