
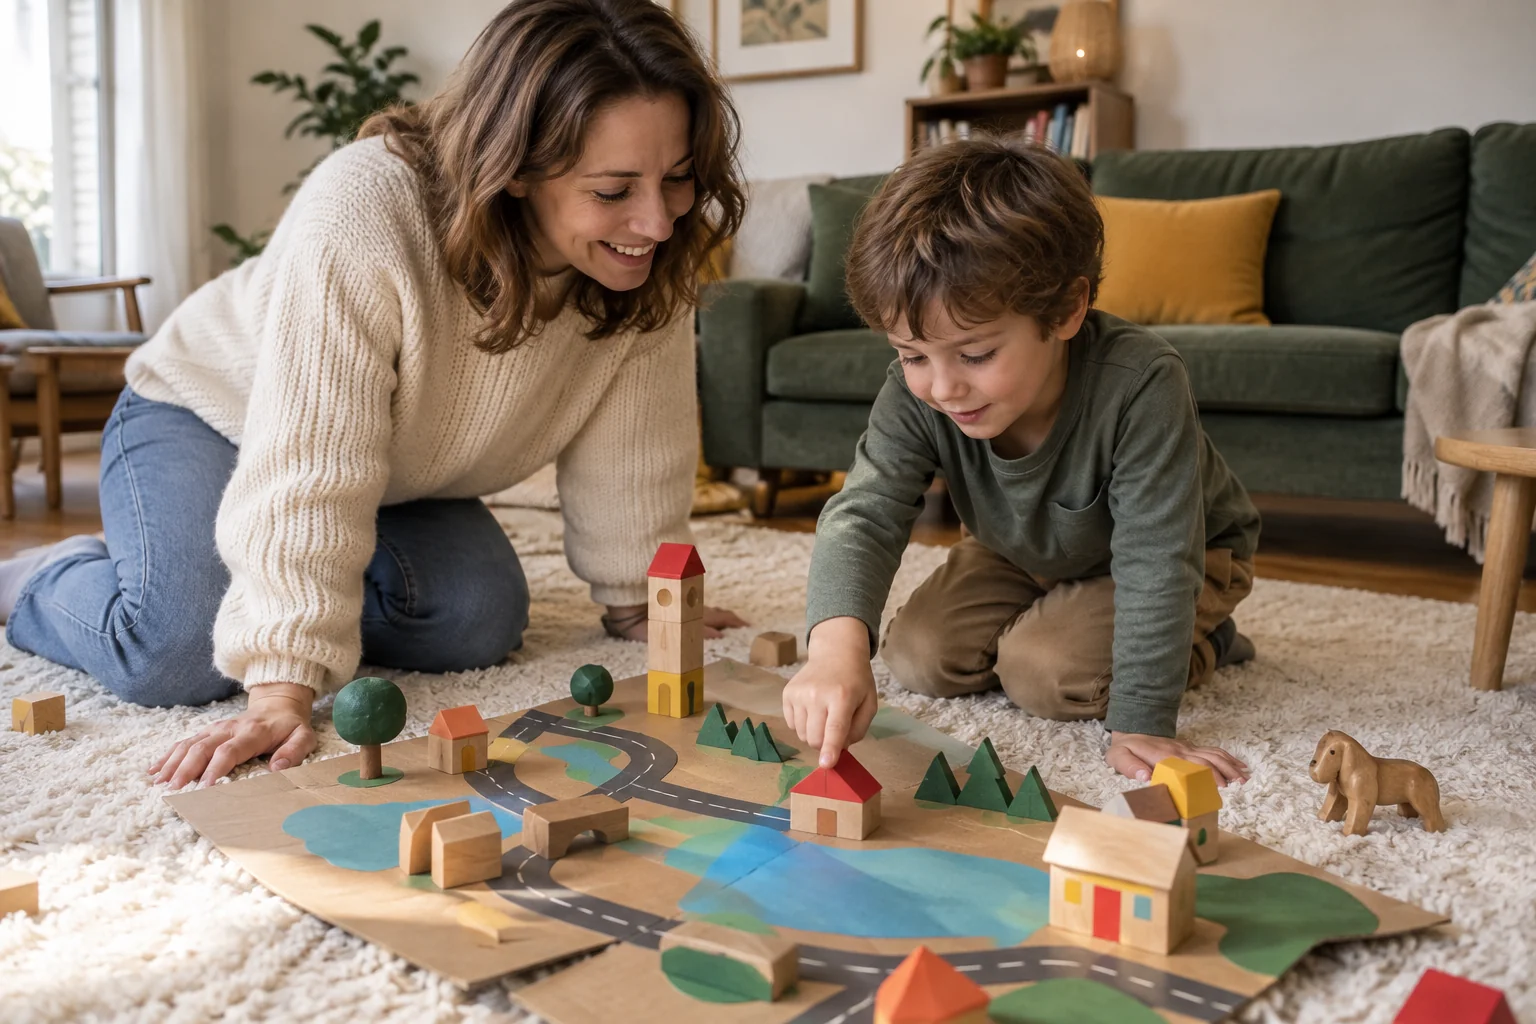
Table of Contents
- 1. Understand the map using three objects
- 2. Choose landmarks and create a map key
- 3. Orient the paper before setting off
- 4. Give clear meaning to left and right
- 5. Draw and double-check a real mini-route
- 6. Use a grid without confusing it with a scale
- 7. Spot mistakes without redrawing everything
- 8. Try a familiar park while keeping the task simple
- Frequently asked questions
- Are you counting visited cells or moves?
Does your child walk straight to the couch, but fails to recognize it on a simple drawn rectangle? This gap makes total sense: knowing a physical space and reading its representation are two different skills. On a map, you view space from above, replace real objects with shapes, and select only specific details.
To get started, you don't need a compass or a long hike. A simple model, three pieces of furniture, and a short path are all it takes. Here is how to guide children aged 4–10, moving forward step by step based on their attempts.
1. Understand the map using three objects
Get a sheet of paper, a pencil, three building blocks, and a small toy figure. The large block stands for the couch, the square block for a table, and the last one for a bookcase. Arrange them like the furniture in the room, without worrying about a perfect scale reproduction.
Look at this model layout from the side, then directly from above. Ask: “What can you still see? What disappears?” You mainly see the top of the objects; table legs become harder to notice.
Next, place the blocks on a second sheet of paper, trace their outlines, and remove them. The shapes left on the paper allow your child to match their positions. Transitioning from 3D shapes to a 2D flat representation is featured in the Éduscol educational resource on models and plans.
For ages 4–6, pause after this first comparison if needed. For ages 7–10, ask what additional details should be added so that someone else could recognize the room.
2. Choose landmarks and create a map key
A good landmark is easy to recognize and stays fixed during the activity. A door, a window, and a bookcase work better than a sock or a toy that gets moved constantly. With your child, select three or four key elements and draw them simply.
The key (or legend) explains your symbols. A green rectangle can represent the couch; a dashed line on the room's outline can mark an opening. These custom rules work as long as you agree on them. They aren't universal map symbols.
Try a helpful test: show the map to someone else without giving explanations. If they confuse the table and the rug, ask your child what should be adjusted. A clearer map key is much better than a long series of decorative drawings.
To extend this attention to detail in a different setting, our outdoor observation games for walks offer great ideas. Here, however, keep the selected objects in place until the activity ends.
3. Orient the paper before setting off
Stand with your child at the entrance of the room. On the map, first locate the door, then the window. Rotate the sheet until the direction toward the window on the drawing lines up with the actual window. Double-check with a second landmark, such as the couch.
This quick check prevents following upside-down maps. The IGN geographic agency describes map orientation using visible landmarks as a foundational skill for real-world navigation. Your simple family map offers a great way to try out this principle.
Then change your position in the room. The drawn furniture hasn't moved, but your location on the map has changed. Put a finger back on the exact spot where you are standing. This step is often what children miss when heading off in the wrong direction.
At home, the door and the window are enough as reference points. On the interactive map, north is indicated at the top: the buttons keep fixed directions, regardless of a character.
4. Give a clear meaning to left and right
Sit side by side, facing in the same direction. Ask your child to point to their right hand, then make a quarter turn. Their right hand is still their right hand, but it no longer points to the same piece of furniture.
Then move on to the toy figure. Stick a small marker on its front to show where it is looking. “Turn right” means to its right, from its current orientation. This might lead it toward the bottom of the page. Conversely, “go toward the right edge of the page” uses a fixed reference point on the paper.
Do not mix these two instructions at the beginning. Younger children can stand behind the figure, facing the same way. Older children can first explain the movement with their hands, then move the character.
If this vocabulary creates a block, return to a physical game among the indoor movement activities, using simple single instructions. Returning to physical body movement helps show what the words mean without requiring a full route right away.
5. Draw and then verify a real little route
Choose a visible start and finish: from the door to the bookcase. Ask your child to trace the path in pencil by going around the table. A map also serves to show possible paths; a line that goes straight through the sofa is not a practical route.
- Place a token at the start and state the arrival point.
- Follow the line with your finger while naming an intermediate landmark.
- Walk the actual route together.
- Compare the drawn path with what you just walked.
With a 4-to-6-year-old child, a single decision is enough: passing on one side of the table. Around 7 or 8 years old, add a stop in front of the window. Around 9 or 10 years old, compare two routes and ask which one best avoids a cluttered hallway.
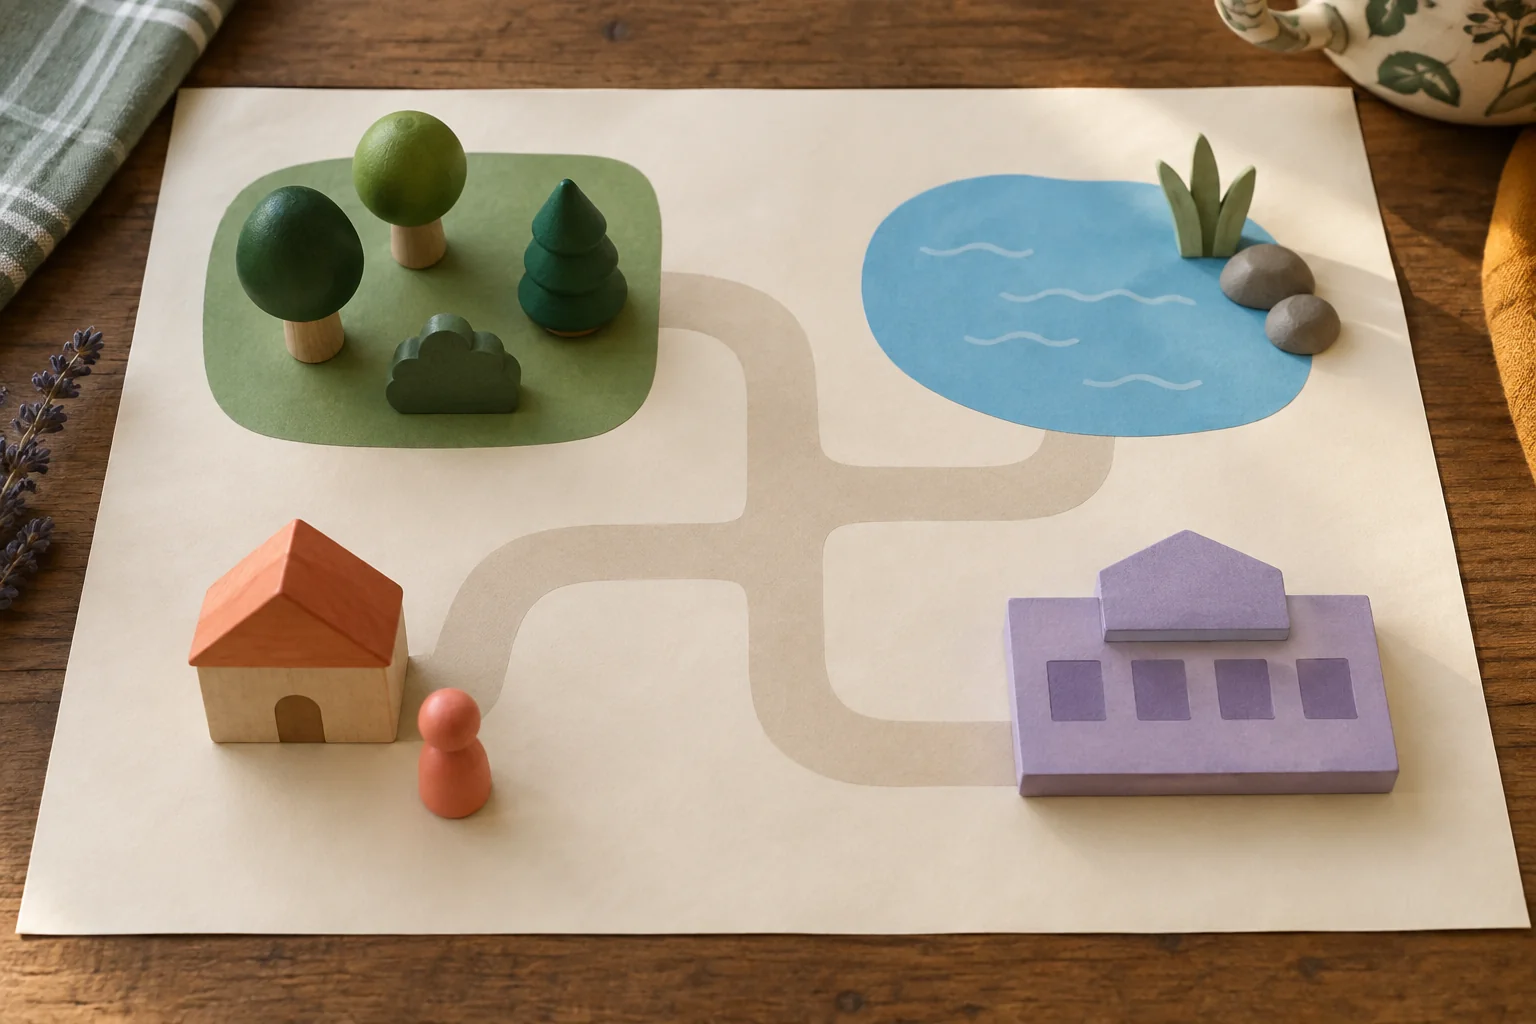
If your child enjoys paths on paper, level-appropriate mazes offer a great extension. The difference is interesting: here, the drawing represents a space you can actually walk through.
6. Use a grid without confusing it with a scale
Draw a grid with four columns and four rows. Write A, B, C, D above the columns, and then 1, 2, 3, 4 to the left of the rows, from top to bottom. Place the figure in A1 and a house in C3. Explain your convention: you name the column first, then the row.
To reach C3 from A1, the game piece can move two squares to the right of the page and then two squares down. It makes four moves, with no diagonals. Then add a blocked square and look for another route.
The board below uses five columns and five rows: you always start from shelter A5. Plan your moves, then test your route.
One square here represents one game unit. It is not equal to a meter or a real step. The grid marks locations; the scale establishes a relationship between represented distances and real distances. Your sketch of the living room is not necessarily to scale.
Just like in our logic riddles, explaining why a solution works is just as interesting as finding it.
7. Identify mistakes without re-doing the whole drawing
If your child draws the sofa head-on in the middle of the floor plan, go back to the top-down model. If they lose their starting point, add a big colored dot. If they follow a direction the wrong way, check their reference point first: are we talking about the toy character or the sheet of paper?
A mistake can also stem from the material itself. Two identical doors, a missing piece of furniture, or an ambiguous arrow make the task genuinely difficult. Modify the drawing together with your child instead of asking them to guess what you intended.
Avoid correcting the drawing, the vocabulary, and the route all at once. Focus on one difficulty at a time. A clumsy but understandable plan already does its job; lines drawn with a ruler are not essential to show where you walk.
8. Move to a familiar park and keep the task simple
On a future outing together, look at a map of a small park. Locate the entrance where you are standing, a playground, and an easily recognizable building. The adult remains responsible for navigation; the child can look for the next landmark and call it out when they spot it.
The IGN educational resources then offer booklets to discover other aspects of maps. Pick a clear, easy-to-read resource for your child, without piling on legends, distances, topography, and compass orientation all in the same session.
To keep a record of the activity, invite them to draw just one route when you return. Ask which landmarks would help someone walk it again.
Are you counting visited cells or moves?
The starting cell is occupied before the first move. It belongs in a count of visited cells. If you are counting moves to neighboring cells, the first move happens only when the figure leaves the starting cell. Agree on the convention before comparing two routes.
| Route | Cells (column, row), origin at top left | Moves | Cell visits, including start |
|---|---|---|---|
| 1 | (0,0) → (1,0) → (2,0) → (2,1) → (2,2) | 4 | 5 |
| 2 | (0,0) → (0,1) → (0,2) → (1,2) → (2,2) | 4 | 5 |
The diagram shows two routes on the same grid. Arrows represent moves between cells; numbers are reading references, not meters. A route that returns to a cell can contain repeated visits, so distinguish visits from distinct cells. The monthly calendar activity explores a related distinction between counting dates and counting the intervals crossed.
Frequently asked questions
At what age can a child start reading a map?
Starting around 4 to 6 years old, you can offer a very simple scale model or a layout of a few familiar objects, with your help. Independent map reading depends on the format and the child's experience. The ages mentioned here serve to adapt activities, not to set a strict deadline.
Do children need to know left and right to get started?
No. First use named reference points: toward the window, between the table and the sofa. Then work on left and right using physical movement, clearly stating which point of view you are using.
Can you rotate the map during the activity?
Yes. Turning the paper so its orientation matches the actual space is helpful. Also check where your child is located on the map: orienting the paper and identifying their position are two complementary steps.
My child draws the furniture much too big: is that a problem?
A sketch can remain clear without respecting exact proportions. Focus mostly on checking the relative position of the furniture and the pathways. If a piece of furniture blocks the whole path, redraw it smaller together, without treating that first drawing as a scale model.