

Table of Contents
Three ingredients you always have in the pantry, a mixing bowl, and you are ready for an afternoon of modeling. Salt dough is one of the simplest and most satisfying hands-on activities for kids: you knead, shape, dry, paint… and keep the creations for years. Here is the easy recipe using cups as measure, complete with a quantity calculator, techniques for success, drying or baking instructions, and ten craft ideas for all ages.
The three-ingredient recipe
The most common recipe uses a simple cup to measure everything—using the same container for all ingredients is what matters, far more than the cup size itself.
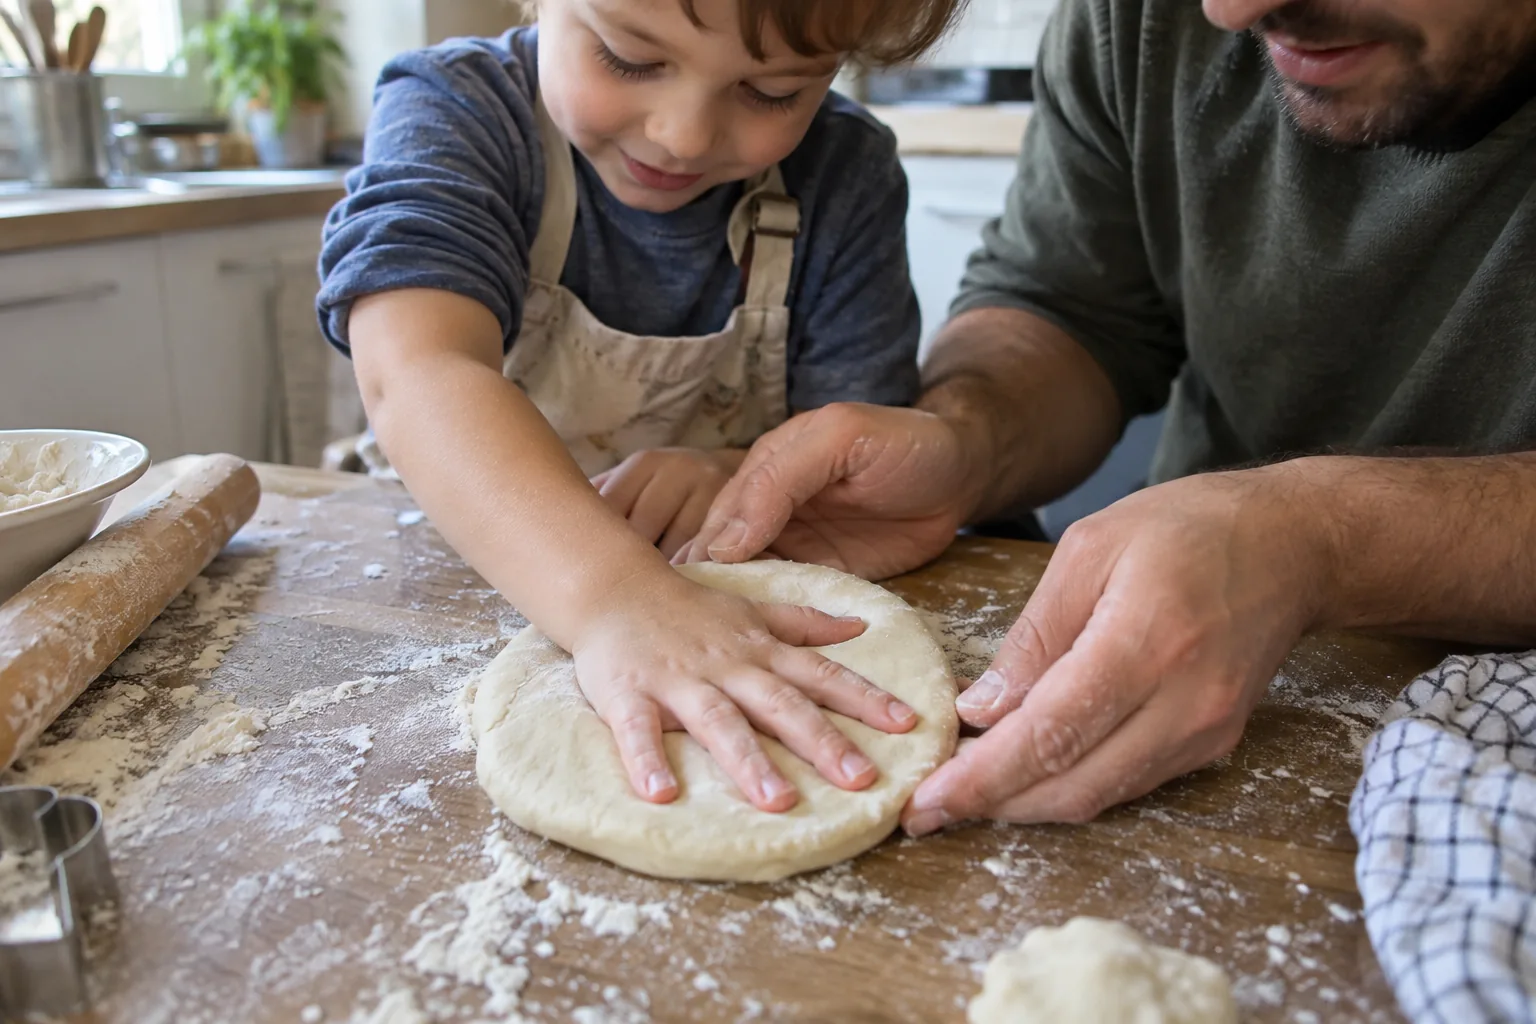
First, mix the flour and salt in a bowl. Gradually add the water while mixing with a spoon, then switch to your hands. Knead on a floured surface for about ten minutes: the dough should become smooth, pliable, and stop sticking to your fingers. If it sticks, add a bit more flour; if it crumbles, add a touch of water. A tablespoon of vegetable oil makes the dough even smoother and easier to work with.
Kneading is a wonderful exercise for little hands: pushing, folding, and turning work the fingers, wrists, and arms. For younger kids, this is often their favorite part.
Techniques for successful modeling
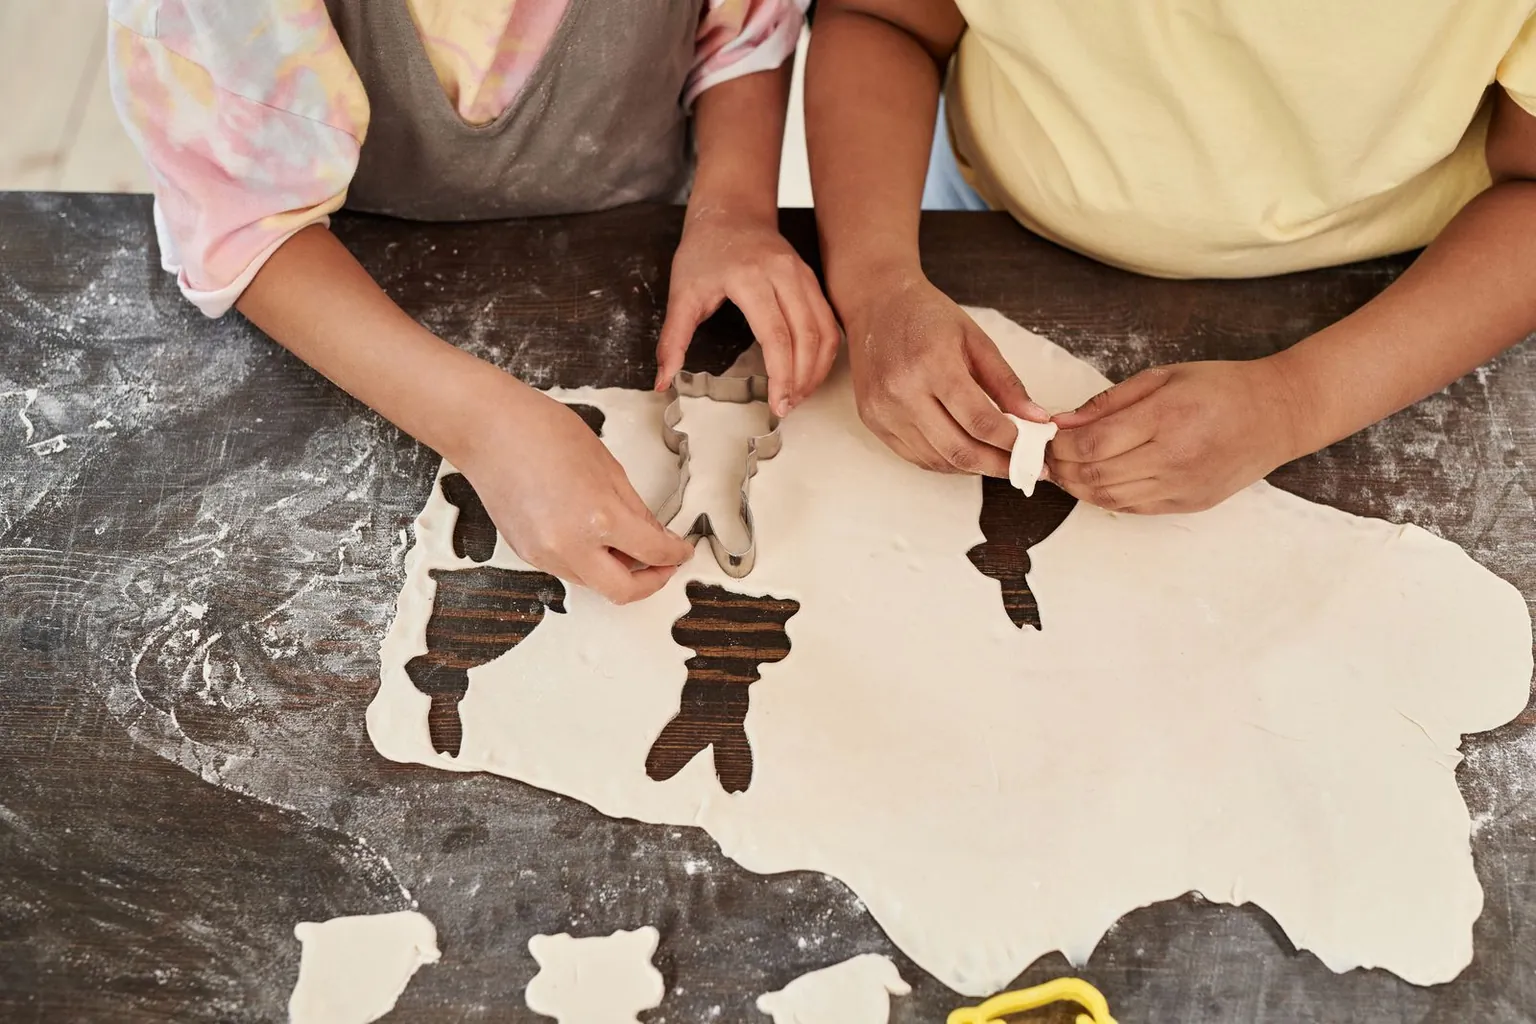
Set your child up at a table covered with an oilcloth or parchment paper, equipped with simple tools: a rolling pin, cookie cutters, a fork, a bottle cap, a straw, and toothpicks for fine details. Two simple rules guarantee success:
- Keep it thin: thicker than half an inch (1 cm), objects dry poorly and tend to crack. Flat shapes work best.
- Glue with water: to join two pieces together, lightly dampen the surfaces with water before pressing them against each other.
Ten craft ideas
Handprint keepsake
A flat disc of dough, pressing your child's hand flat into it, creates a keepsake from age 4 to cherish forever. Poke a hole with a straw before drying to thread a ribbon through later.
Seasonal decorations
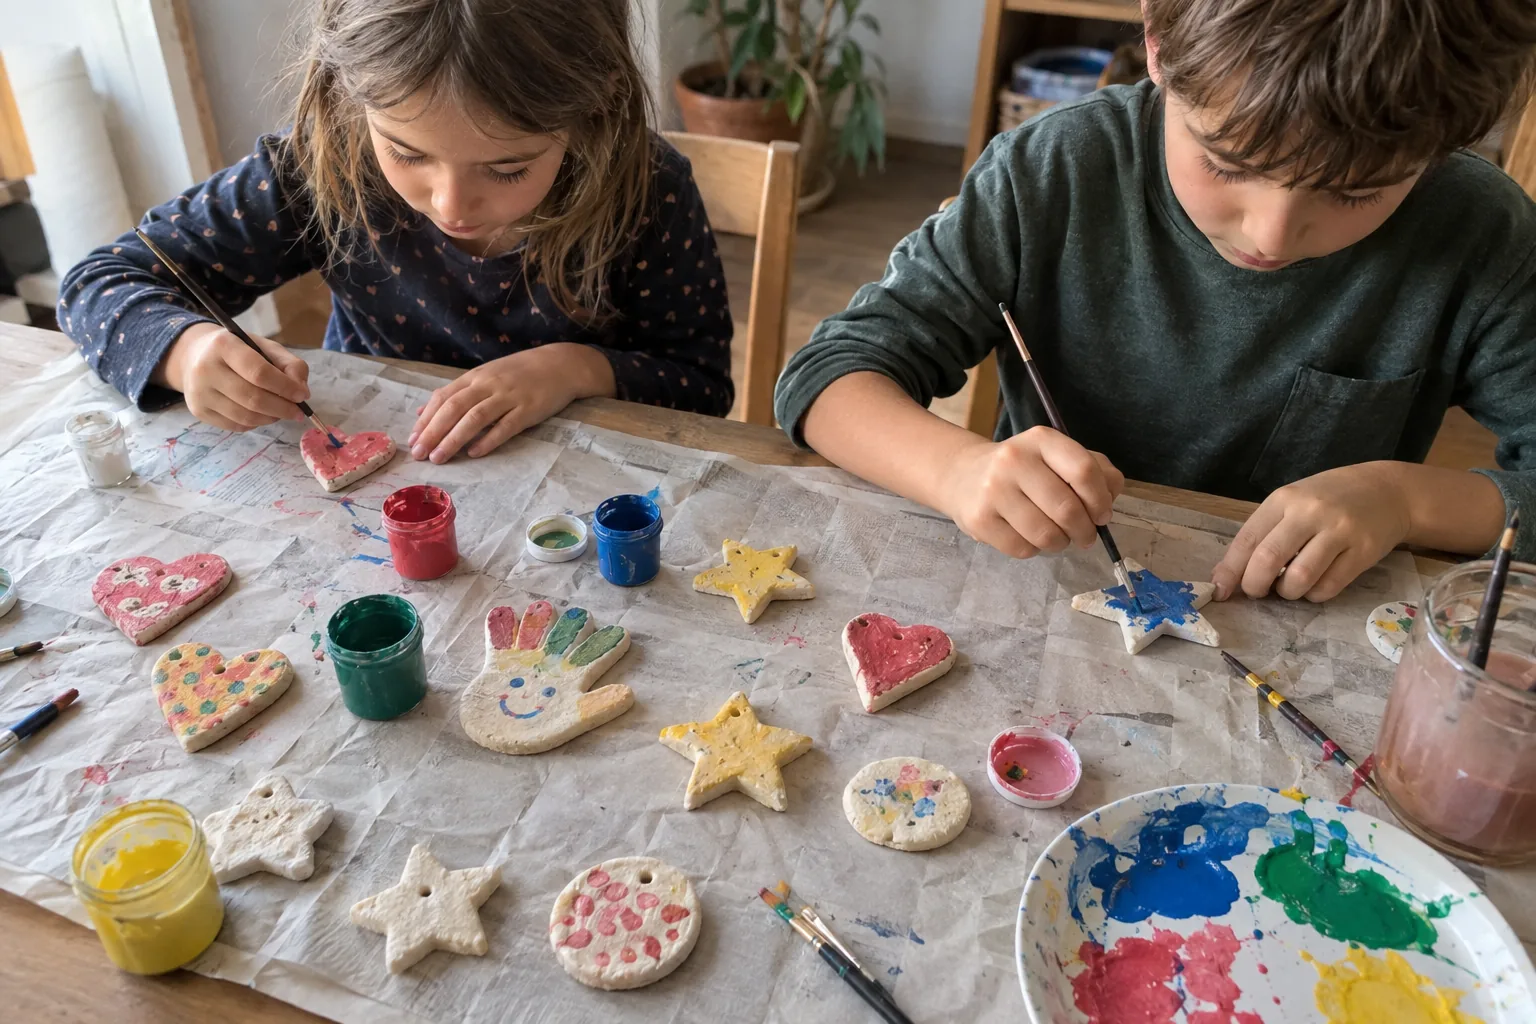
Stars, hearts, and holiday trees cut out with cookie cutters, pierced with a hole, and painted: perfect for decorating your home or giving as gifts.
Nature impressions
Press a leaf, a walnut shell, or a pinecone into the dough, then lift it away: delicate veins appear. A fantastic activity after a fall nature walk.
Name letters
Ropes of dough formed into the letters of their name, to glue onto their bedroom door once dry.
Fridge magnets
Small fruits, animals, or funny faces, with a small magnet glued on the back once dry and painted.
Beads for stringing
Small dough balls pierced with a wooden skewer, dried, and painted to craft a custom necklace.
Play food
Croissants, pies, vegetables: plenty to stock the play kitchen for months.
Little animals
A coiled snail, a hedgehog textured with a fork, a ladybug: simple shapes turn out great for any age.
Family name medallion
A disc for each family member, marked with their initial and a small design carved with a toothpick.
Trinket dish
A round pancake of dough with pinched edges turned up, ideal for holding small treasures.
Air-dry or bake?
Two methods work. Air drying is the simplest: place the creations on a wire rack or parchment paper in a dry room, turning them over daily. Expect several days, especially for thicker pieces.
Low-temperature baking is faster, but should be handled by an adult. Place pieces on a baking sheet lined with parchment paper at a low heat, around 200°F (100°C), for several hours. Thicker objects take longer. Creations are ready when they feel hard to the touch on both top and bottom. Setting the oven too hot causes them to puff up and brown.
Painting and preserving
Once completely dry, paint your creations with tempera or kid-safe acrylic paint. Let dry, then have an adult apply a protective clear varnish: colors will stay vibrant and the dough will be far more resistant to moisture.
Safety: dough is not edible
Salt dough is extremely salty: children must not eat it, and close supervision is needed for toddlers who put objects in their mouths. It is especially dangerous for dogs, who might swallow a whole item. Animal poison control centers report severe cases of toxicity from ingesting salt dough items: high sodium levels can lead to extreme thirst, gastrointestinal distress, and severe neurological symptoms. Store creations safely out of pets' reach, and consult a veterinarian immediately if ingested.
Storing unbaked dough
Have leftover dough? Wrap it tightly in plastic wrap or put it in an airtight container in the fridge: it keeps for several days. Knead it briefly to warm up before using it again. For more creative ideas using everyday household items, check out our no-fuss creative activities and our fine motor skills games.
Frequently asked questions
Why is my salt dough cracking as it dries?
Most often, pieces are too thick or dried too quickly, such as in an oven that was too hot. Stick to flatter shapes, gradual drying, and low temperatures.
Can you color the dough before modeling?
Yes, by adding a few drops of food coloring or liquid tempera to the water in the recipe. Colors fade slightly as they dry; for vivid colors, painting after drying works best.
Can you make salt dough without an oven?
Yes, air drying works wonderfully well. It simply takes more time—several days—turning the pieces over each day.
What is the difference between salt dough and homemade playdough?
Salt dough hardens and is used to create lasting objects. Homemade playdough, often cooked with oil and cream of tartar, stays soft and reusable for playtime.
To go further
Preview before choosing
Les Petits Explorateurs · Ages 4–6
For preschool and early elementary children discovering shapes, numbers, and the fun of drawing lines. An adult reads the instructions.